How to use the WAW addons and extensions as Elementor templates
Alberto G.
If you’re an Elementor user, you’re probably already familiar with the power of this page builder and the vast array of possibilities it offers as the Elementor templates.
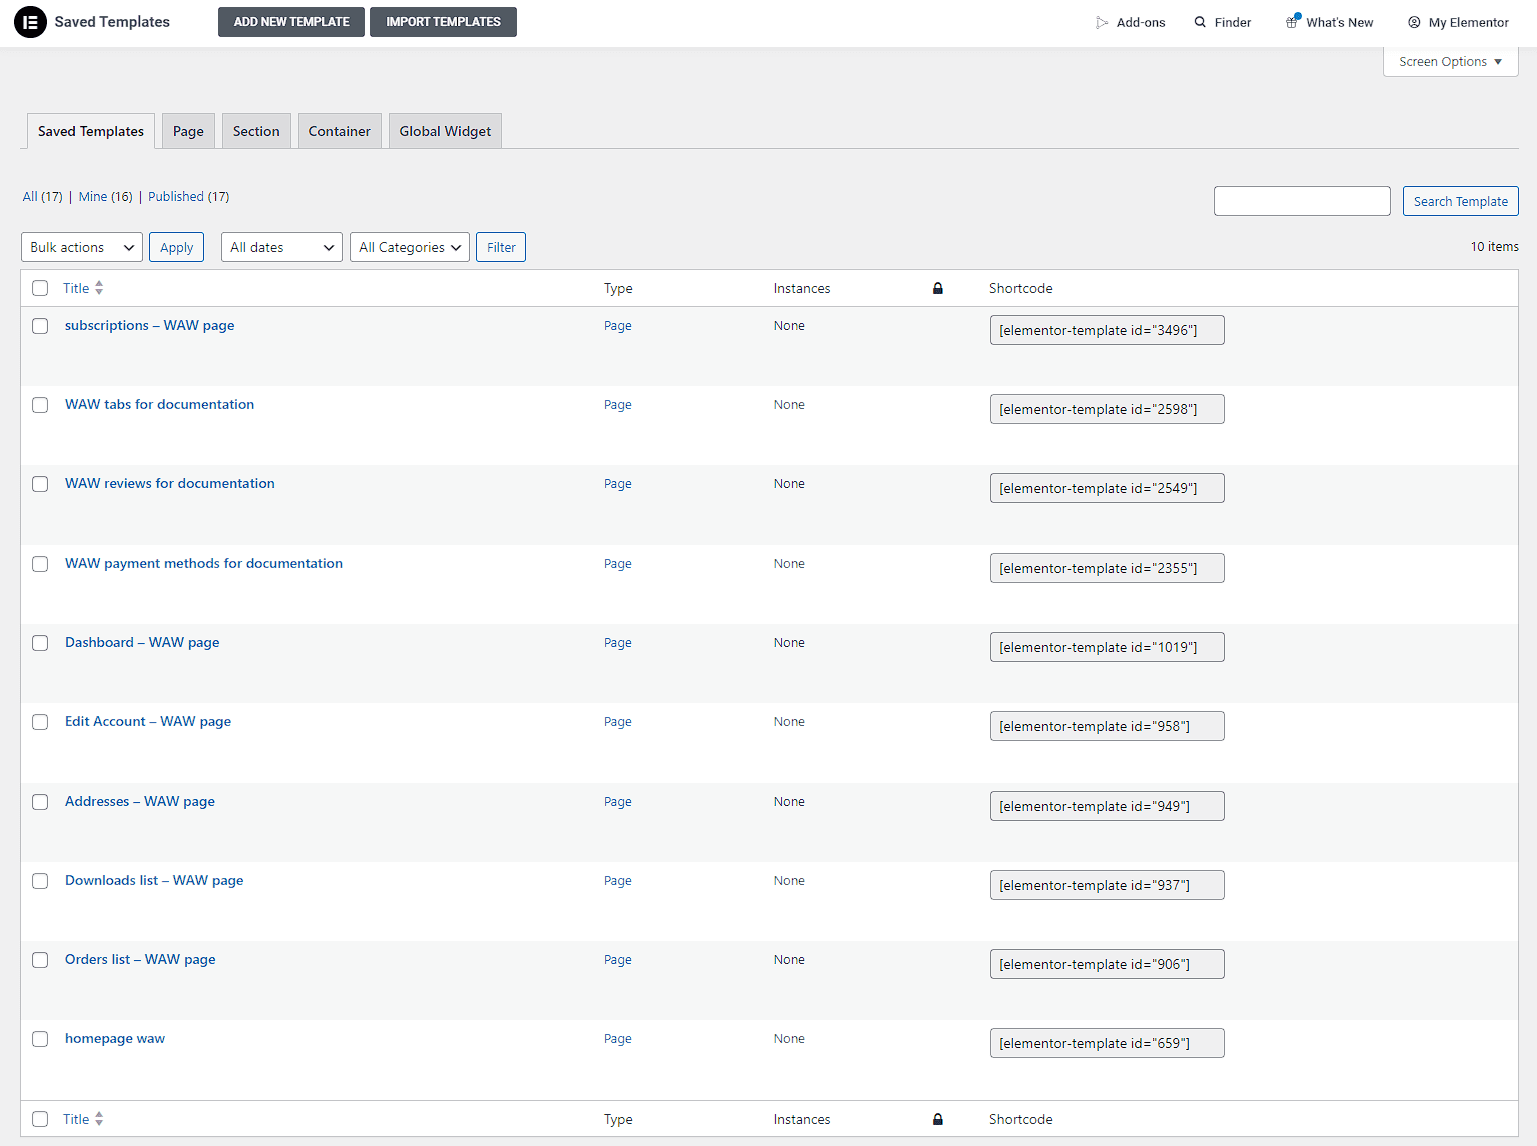
Since its inception, Elementor includes an option to create custom templates and assign them where needed using a shortcode.
This feature is incredibly useful when building page designs where certain elements may repeat. Instead of recreating them each time, you can simply save them as a template and add them wherever needed on any page or post.
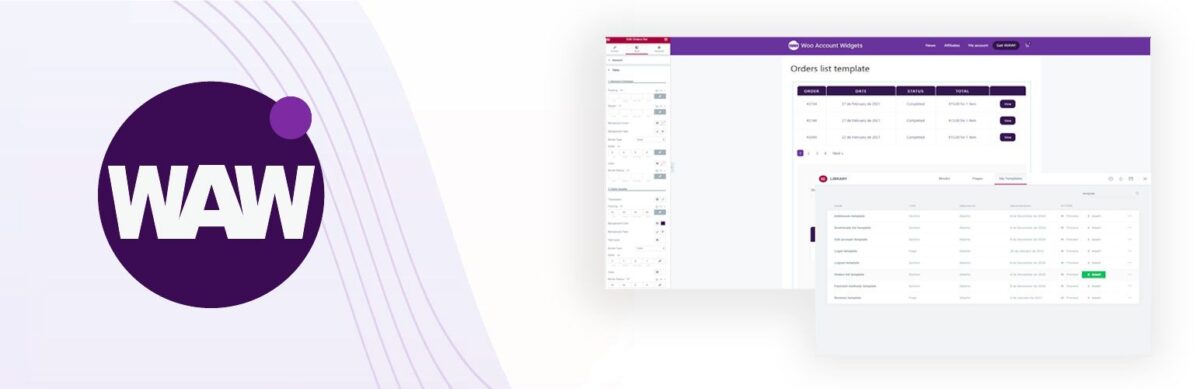
Today, we’ll show you how to take advantage of this great Elementor feature by using Woo Account Widgets addons & extensions as Elementor templates.
With this, you’ll be able to design and display your custom elements, such as sections of your WooCommerce account page, which you’re building from scratch using Elementor and Woo Account Widgets.
Without further ado, let’s get started on how to use Woo Account Widgets addons and extensions as Elementor templates, so you can later add them to your custom WooCommerce account page.
How to Create an Order List Template with Elementor
First, let’s use the WooCommerce Order List widget, found in the addons section of Woo Account Widgets (WAW).
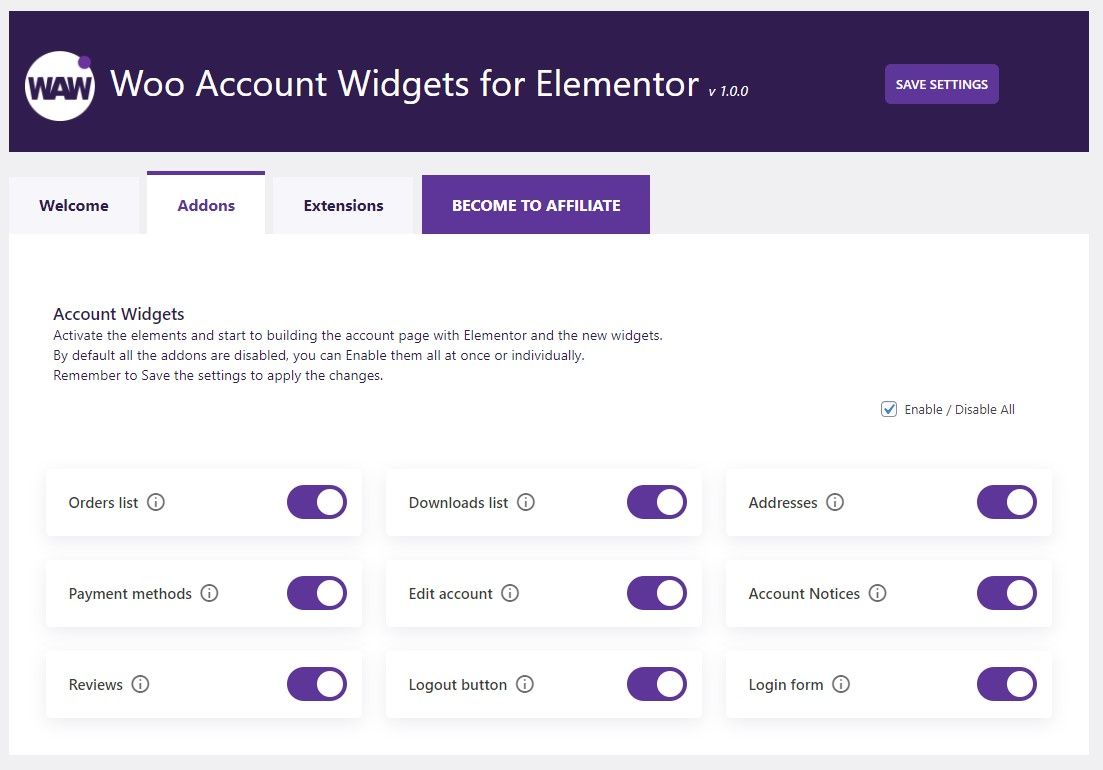
Make sure that the addon is activated.
To do this, go to Woo Account Widgets, click on the Addons tab, and ensure the Order List widget is active.
Once that’s done, head over to Elementor to create the template.
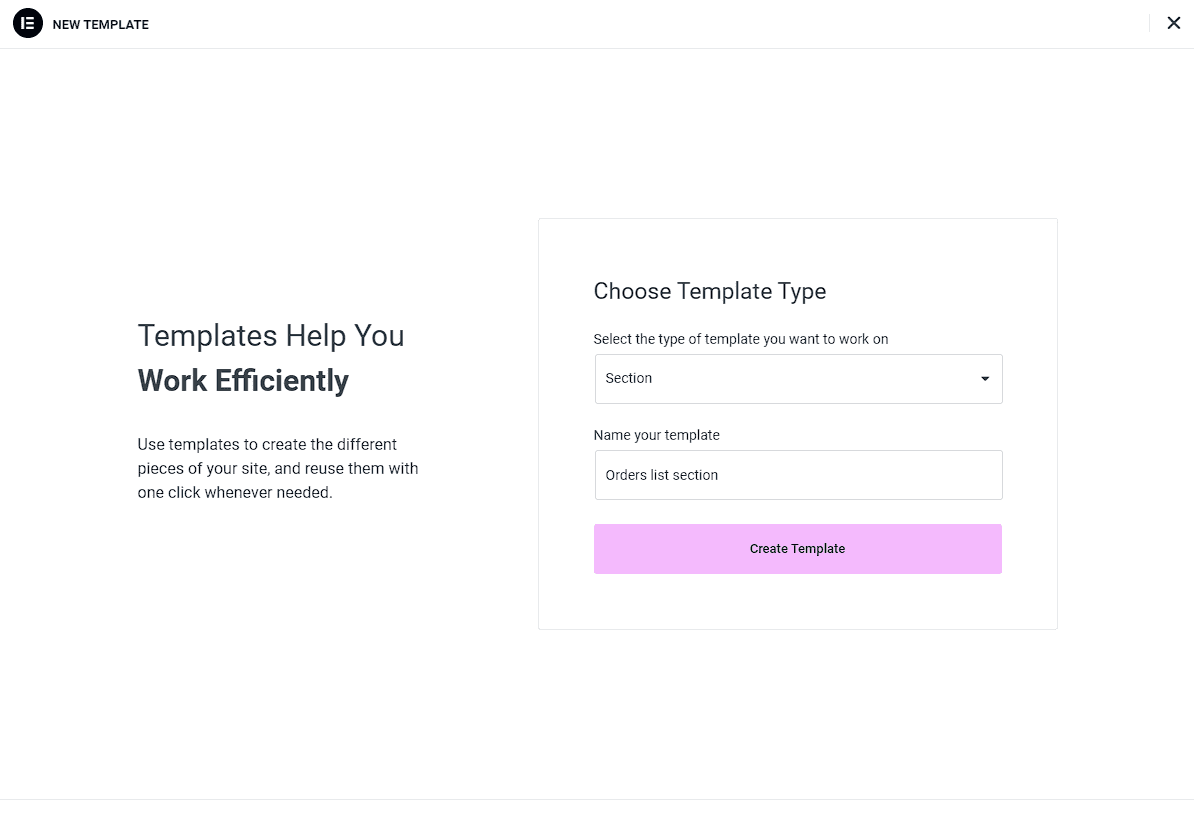
Go to the Elementor template menu and click on “Create Template.”
The process is straightforward—just give the template a name for easy identification and select the type of template you want to use.
You can choose either “Page” or “Section“—both work fine.
In this case, we’ll select “Section” and click the button to create the template.
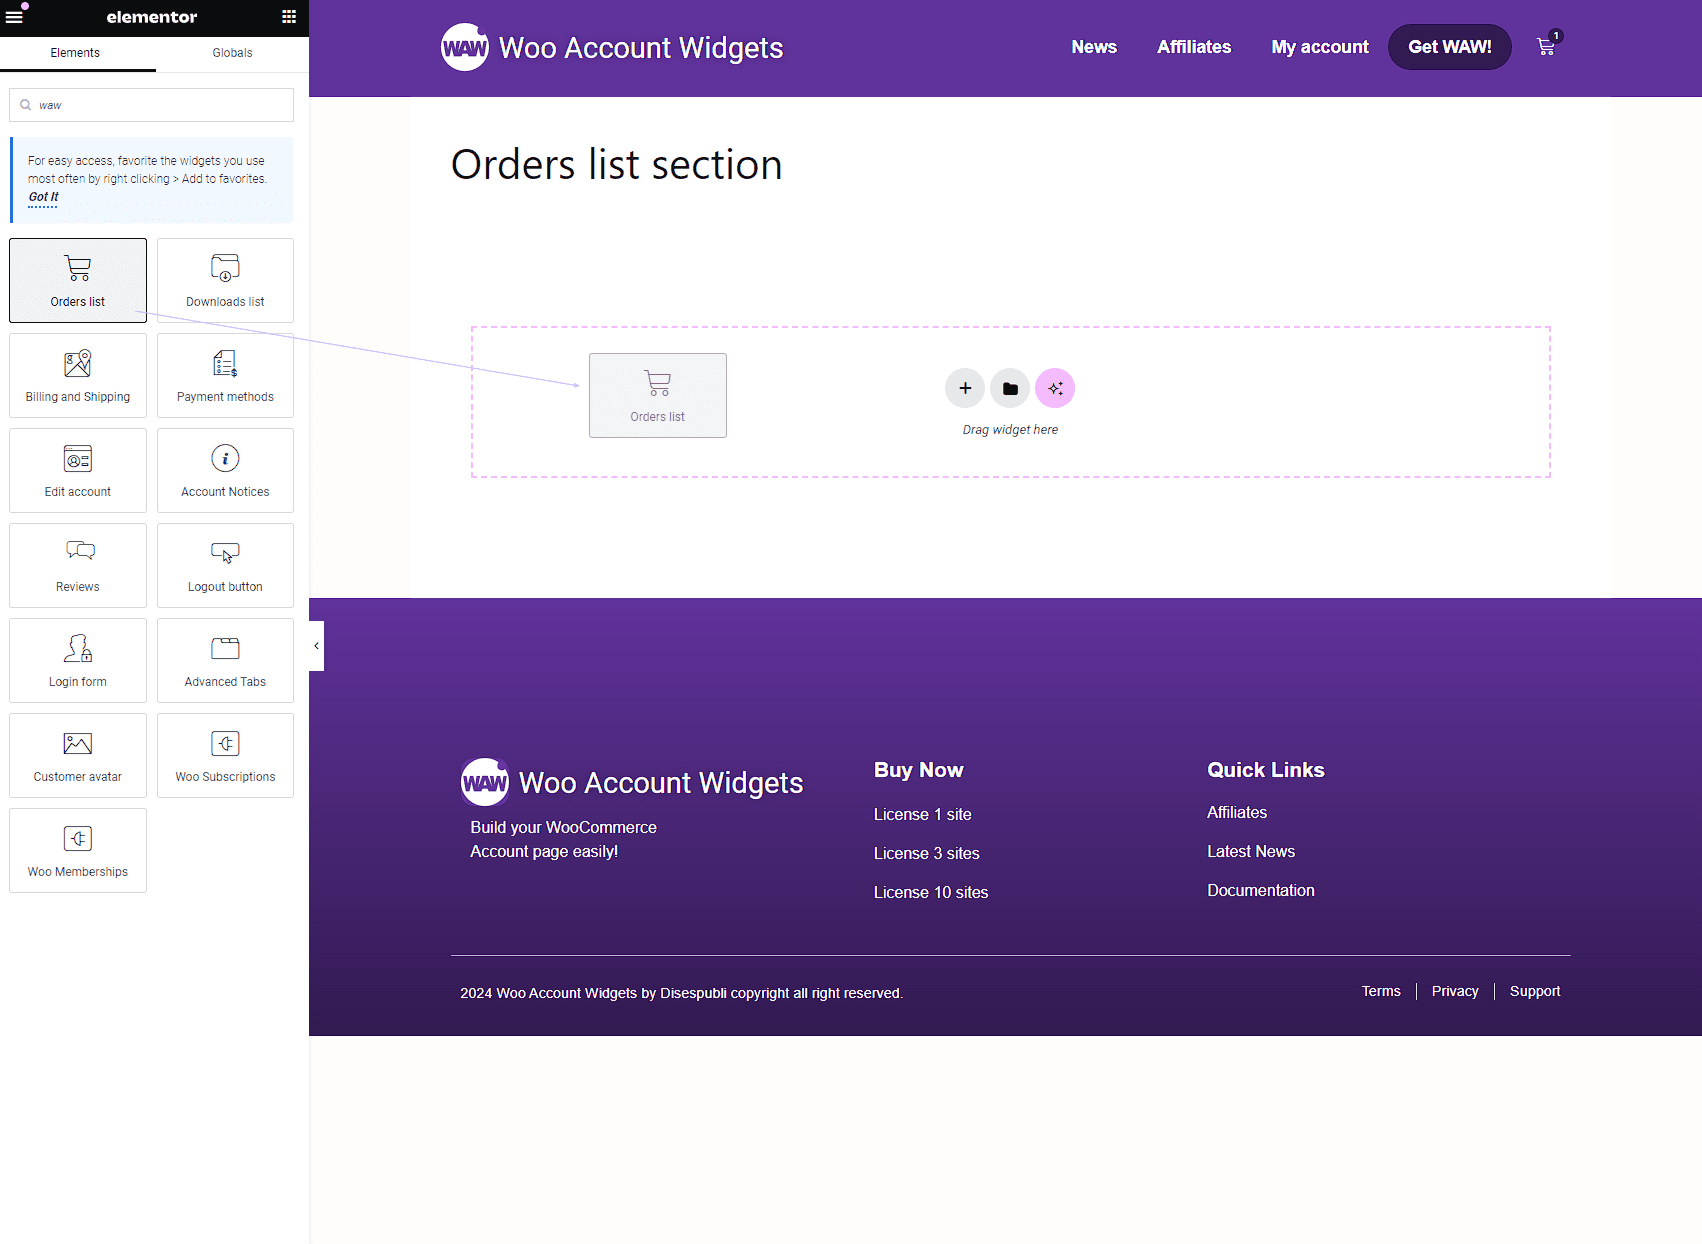
With the template created, the next step is to add the Order List widget.
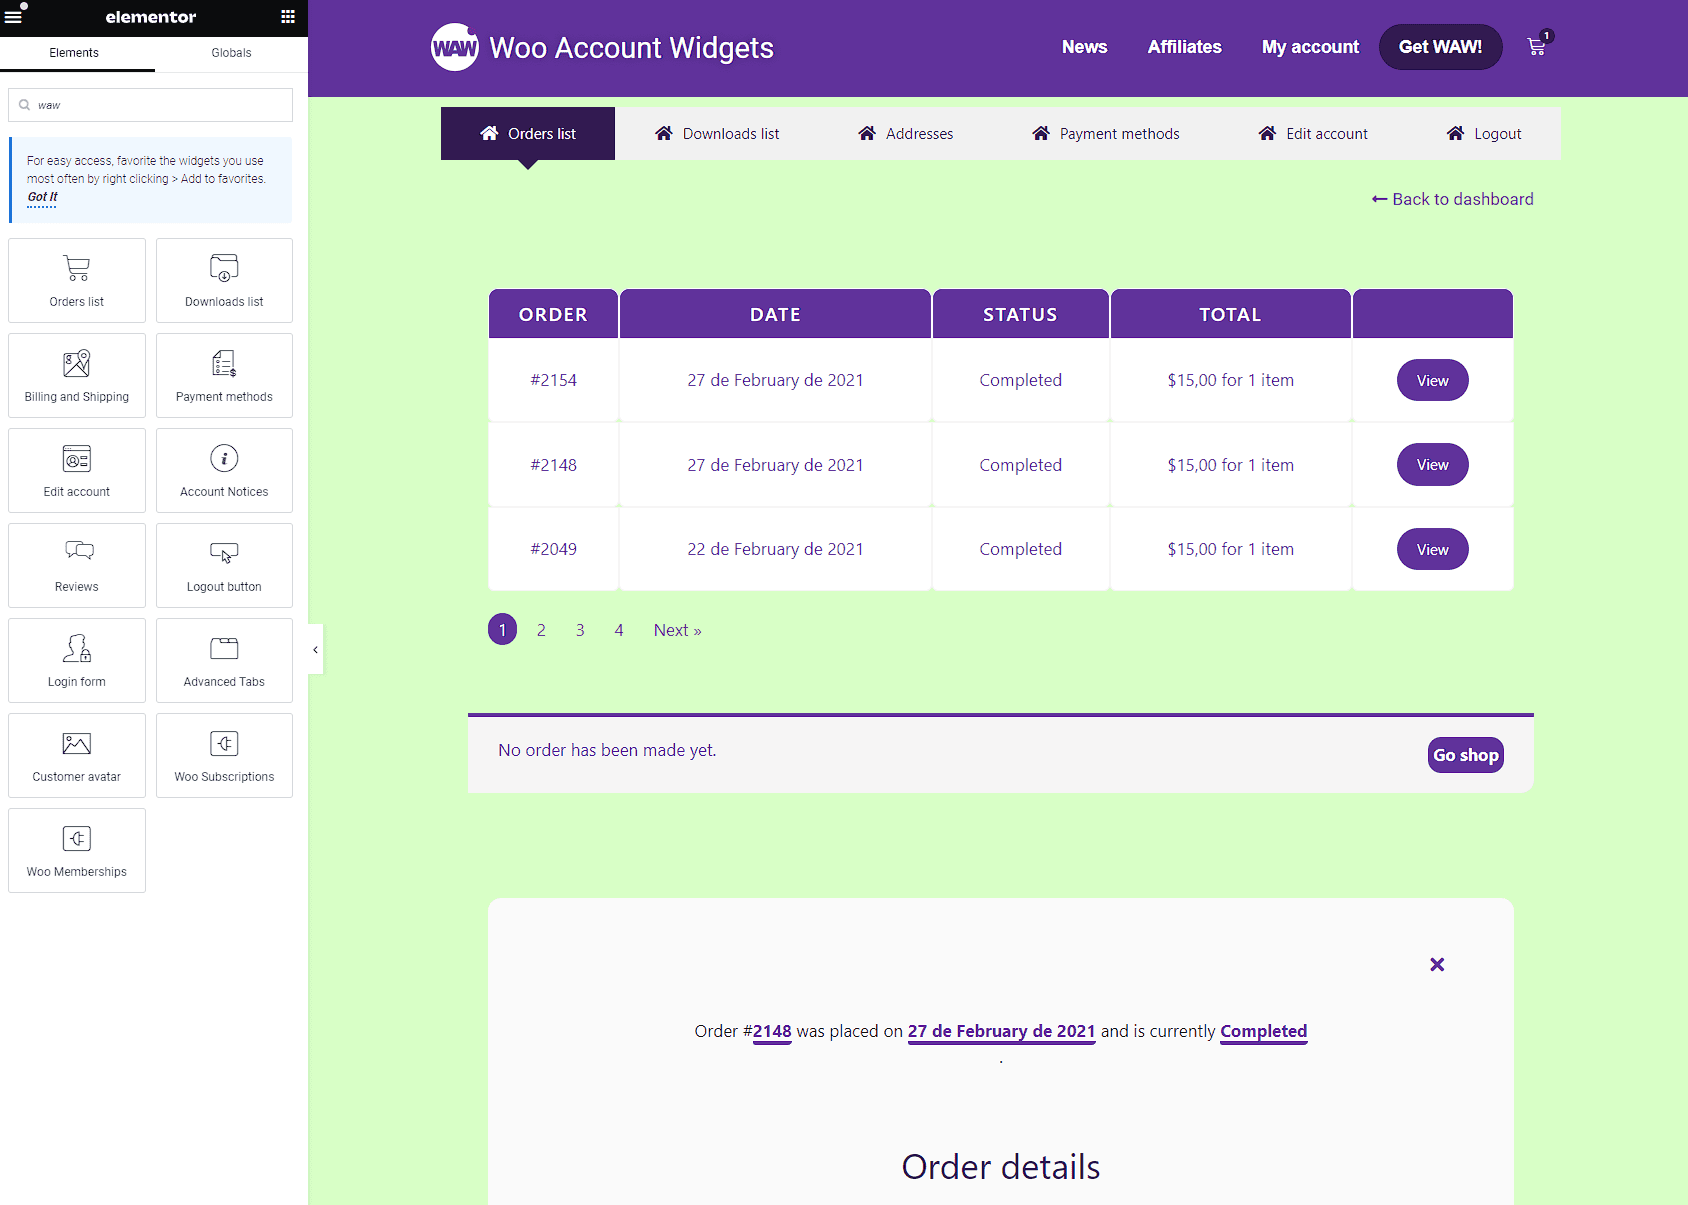
You can either scroll through the widgets or type “WAW” into the search bar to display all the WAW Widgets.
Once you’ve found the widget, simply drag and drop it into your template like any other Elementor widget.
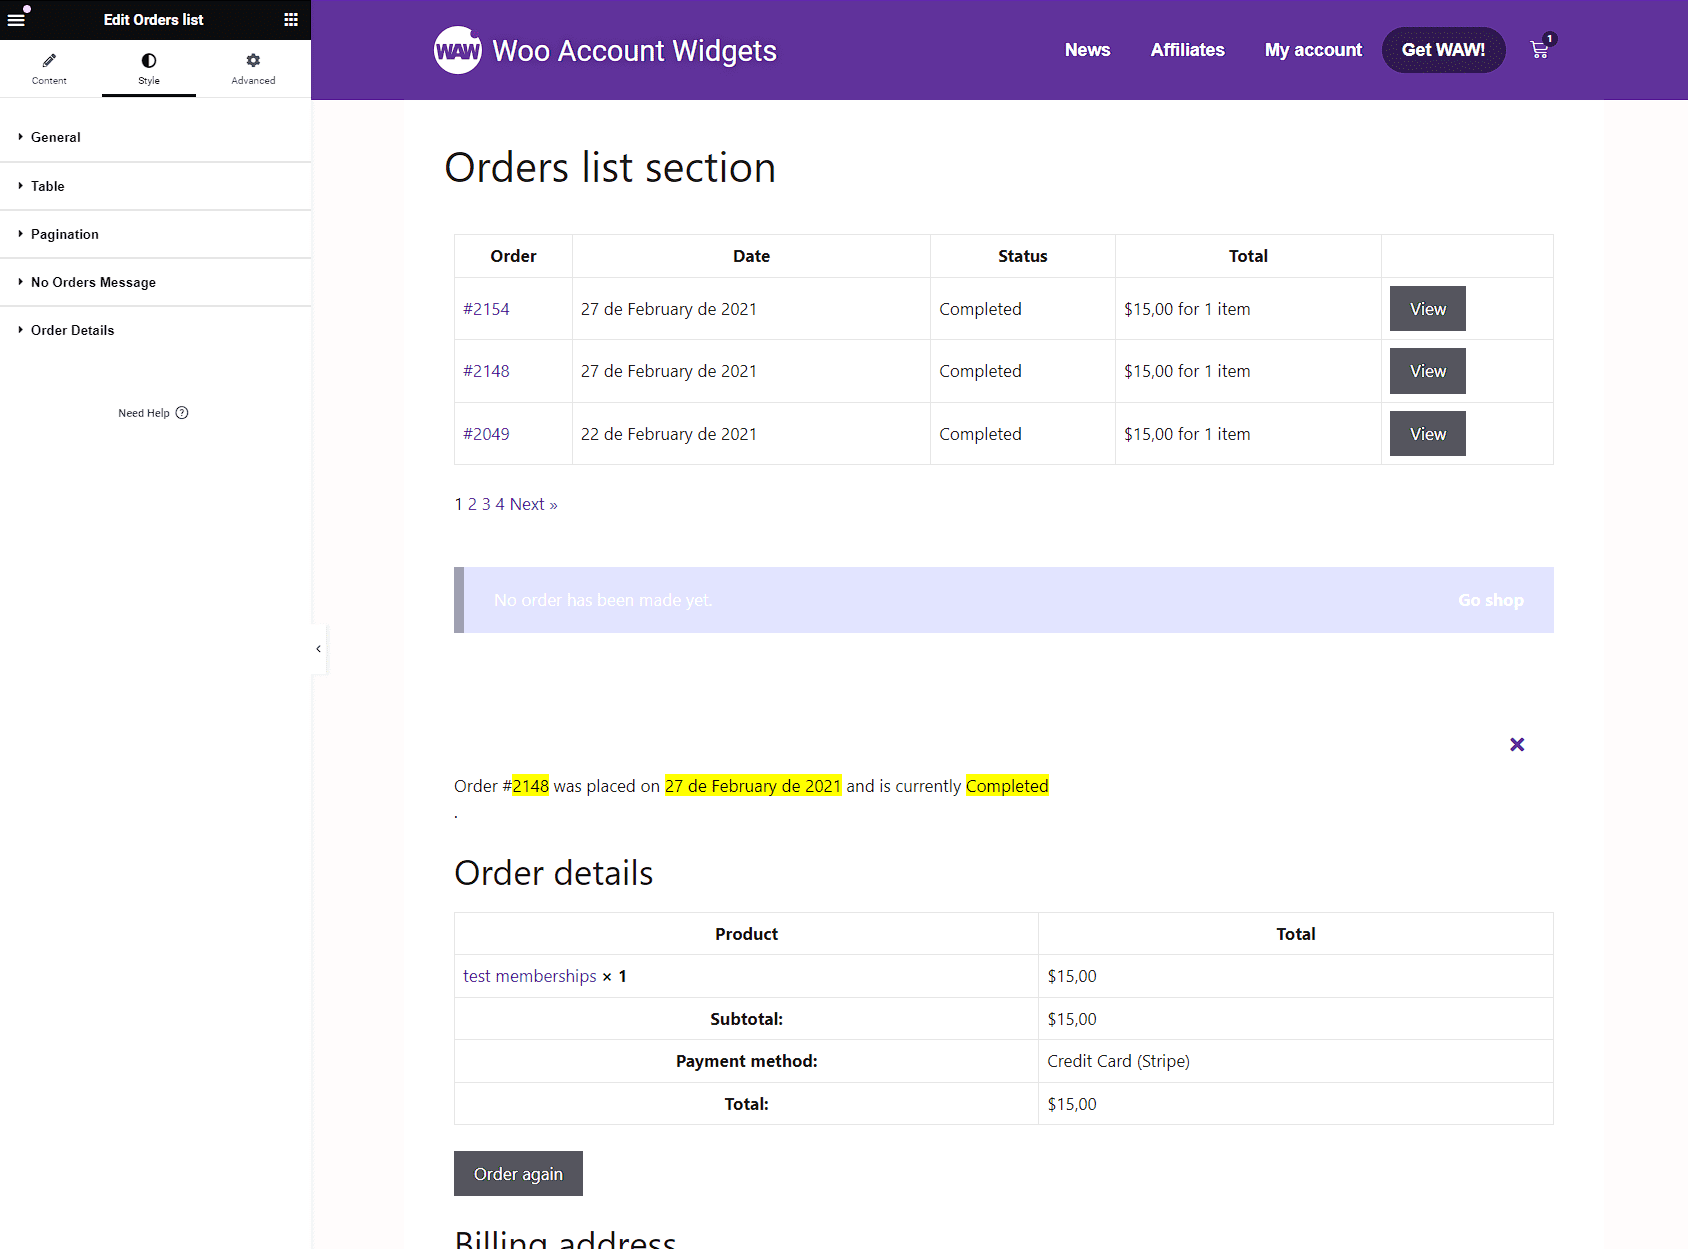
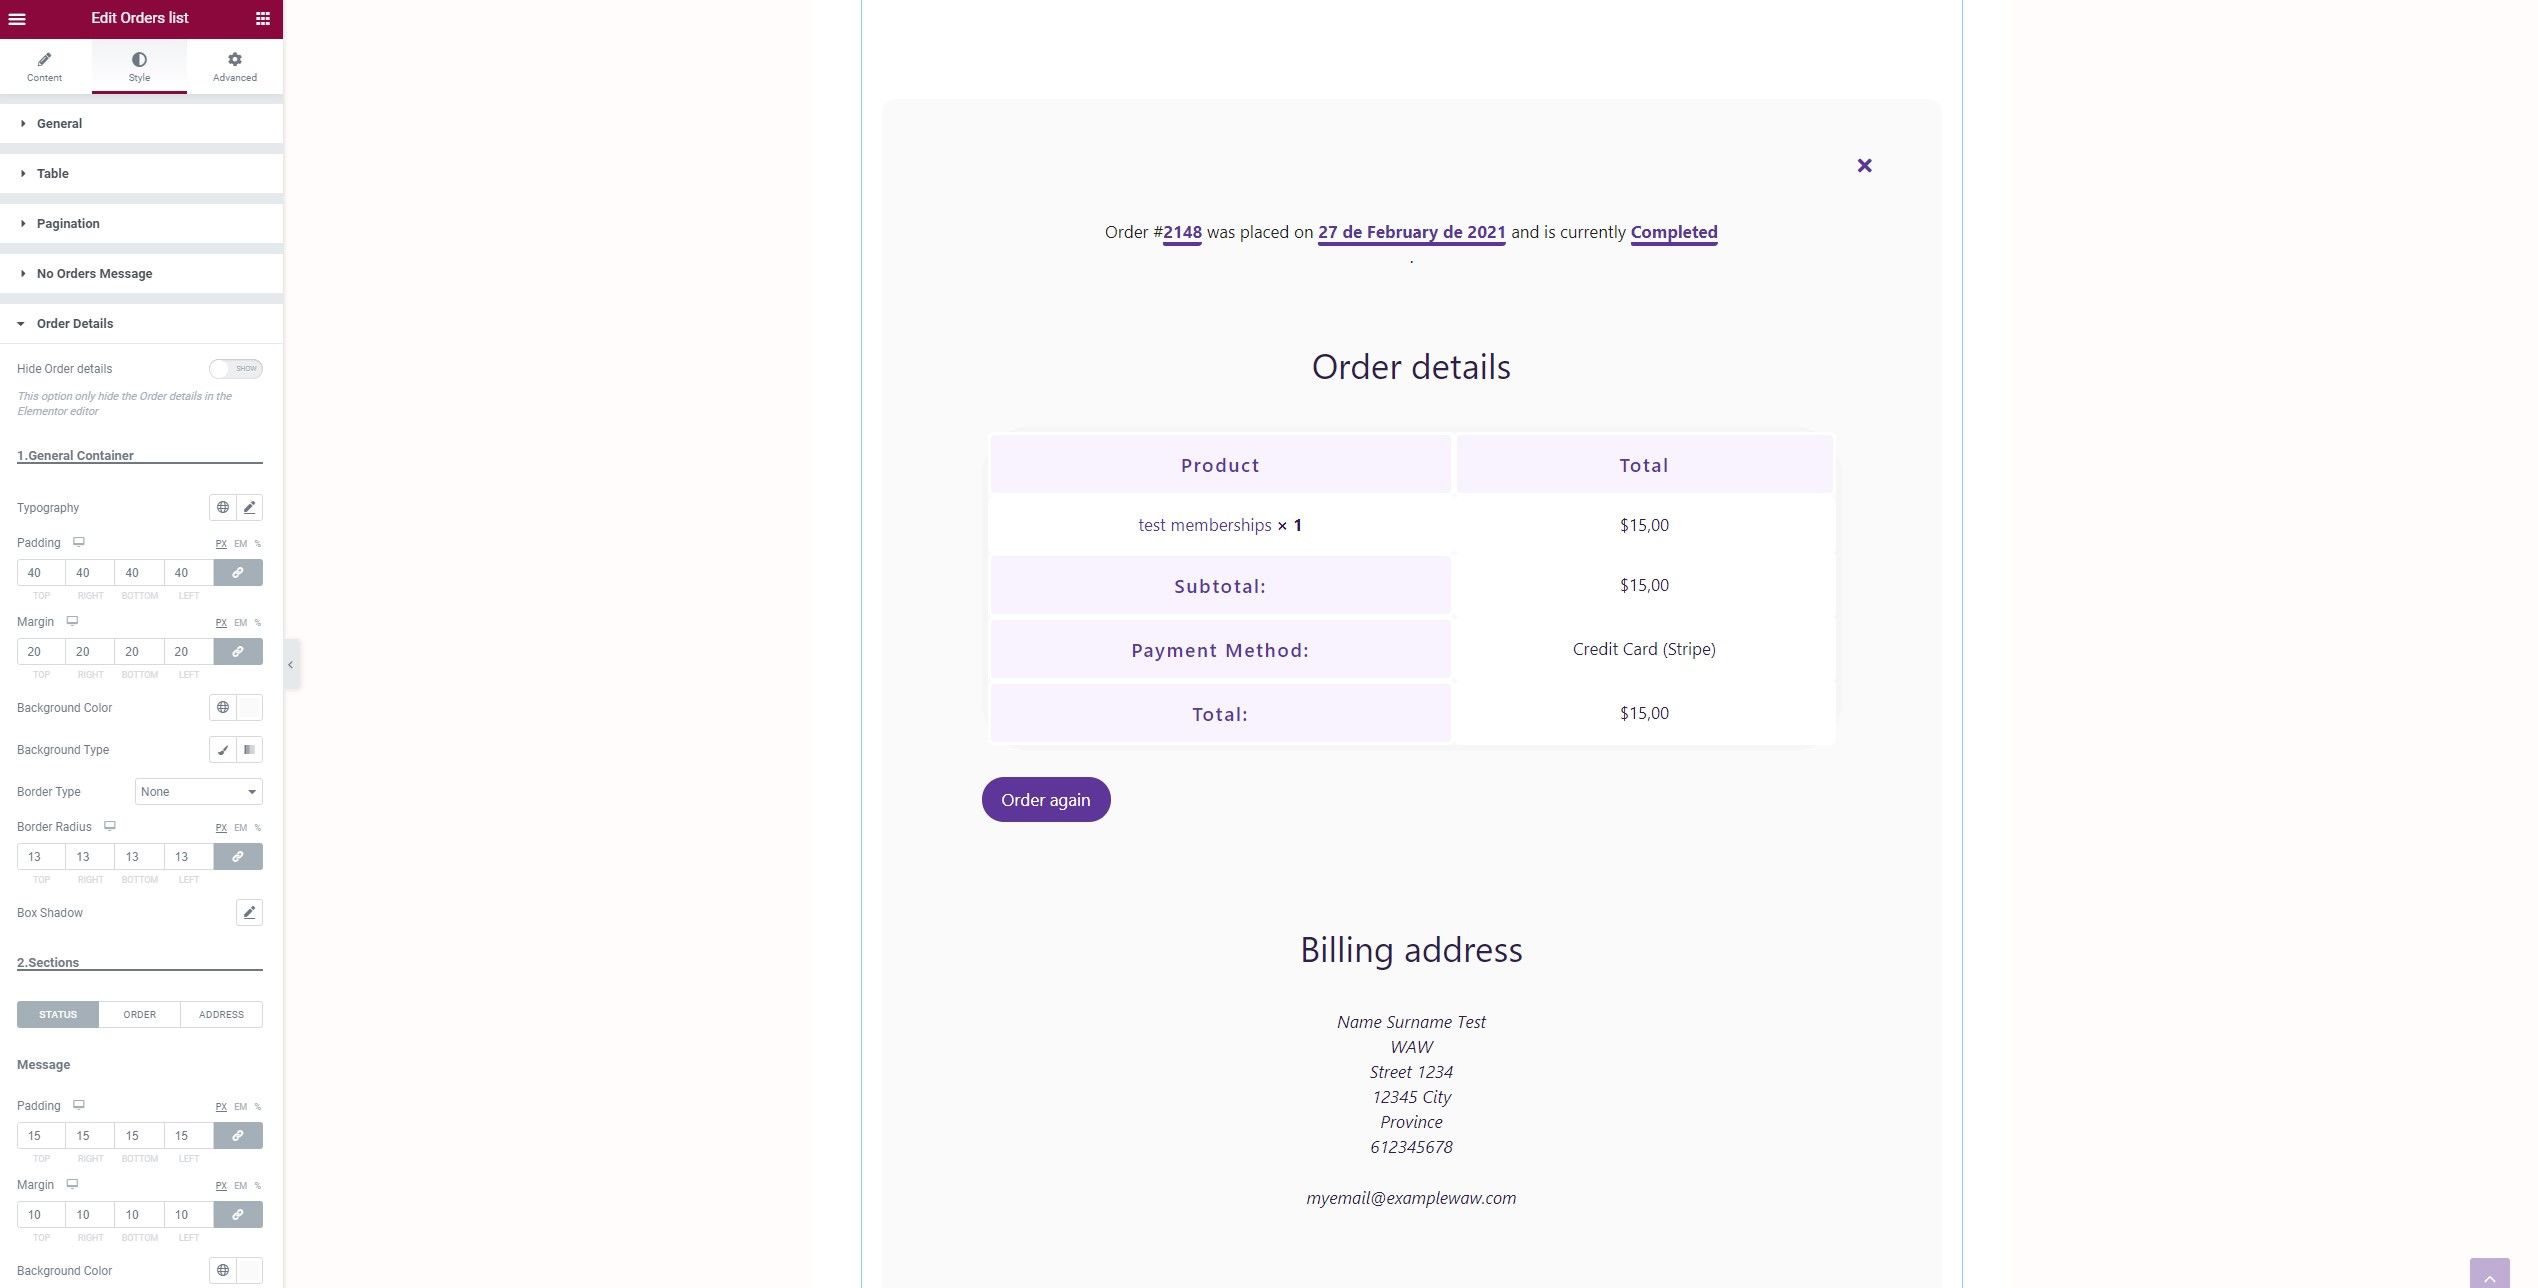
By default, the widget only will display the Orders list tab.
But you can display the “No orders message” and the “Order details” too.
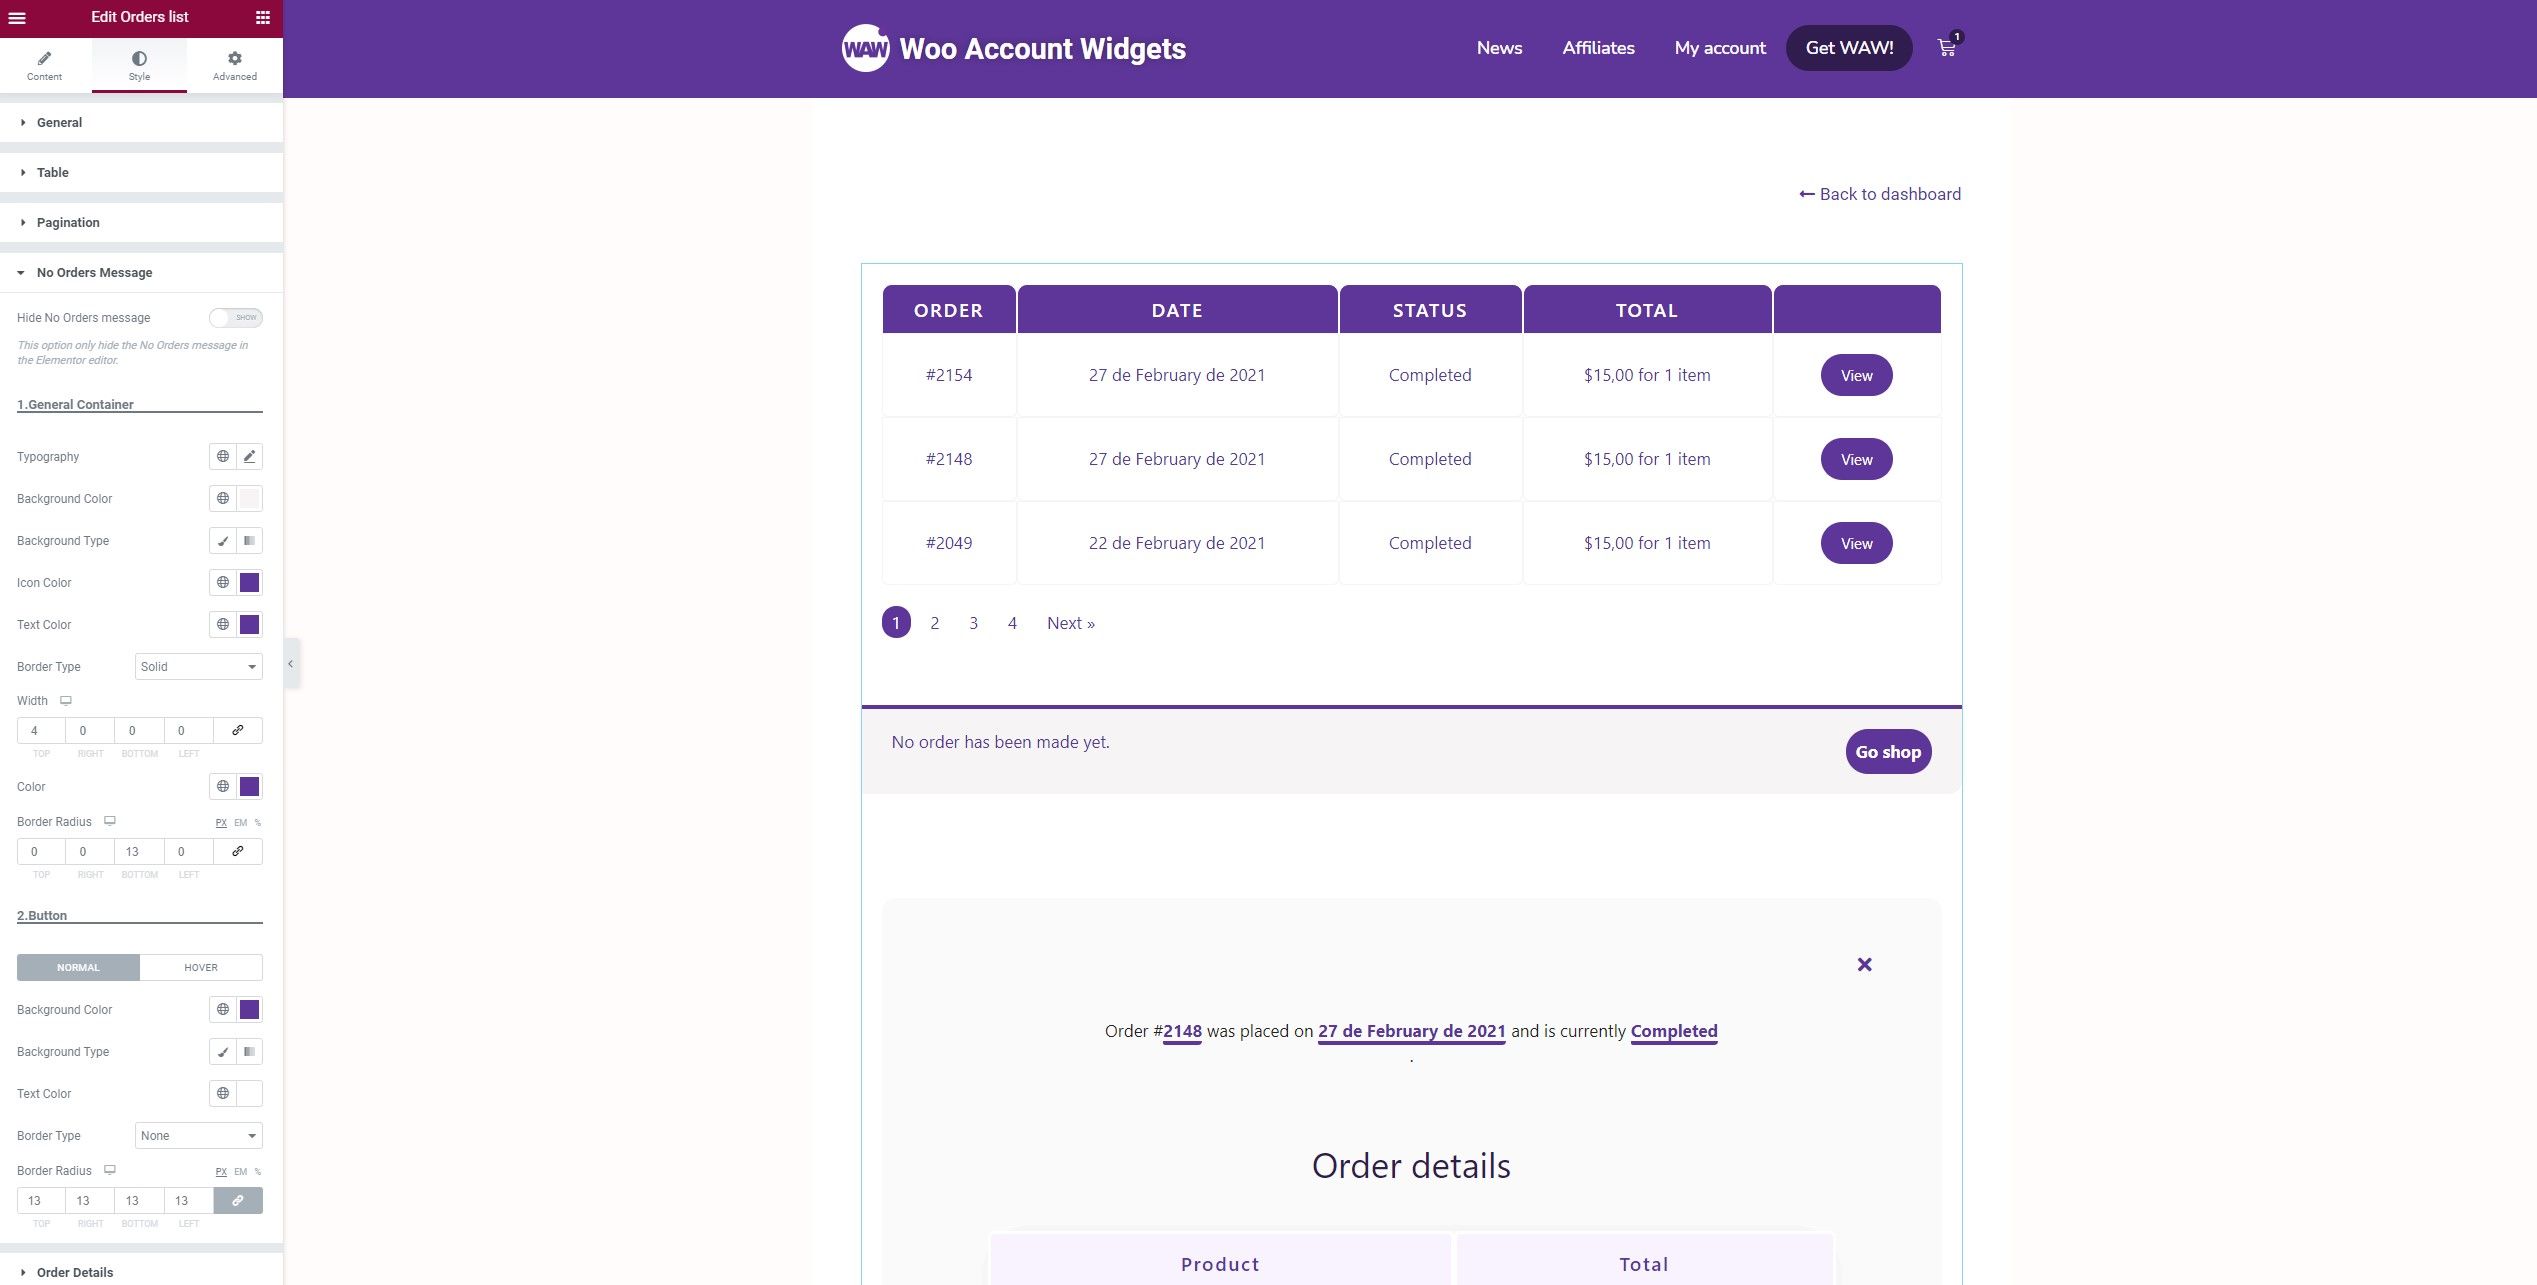
Just need to unselect the hide option available on each section style.
But how can this be, when you’re not on the account page?
The answer is simple: WAW is ready to display the content of each widget in Elementor’s editor, even when you’re not editing the WooCommerce account page itself.
This allows you to see the result directly in the Elementor editor and customize the styles, showing the changes in real-time.
If your account doesn’t have any orders, the Order List widget will display demo content.
On the other hand, if you do have orders, the widget will detect and show them, allowing you to see exactly what will appear on the front end.
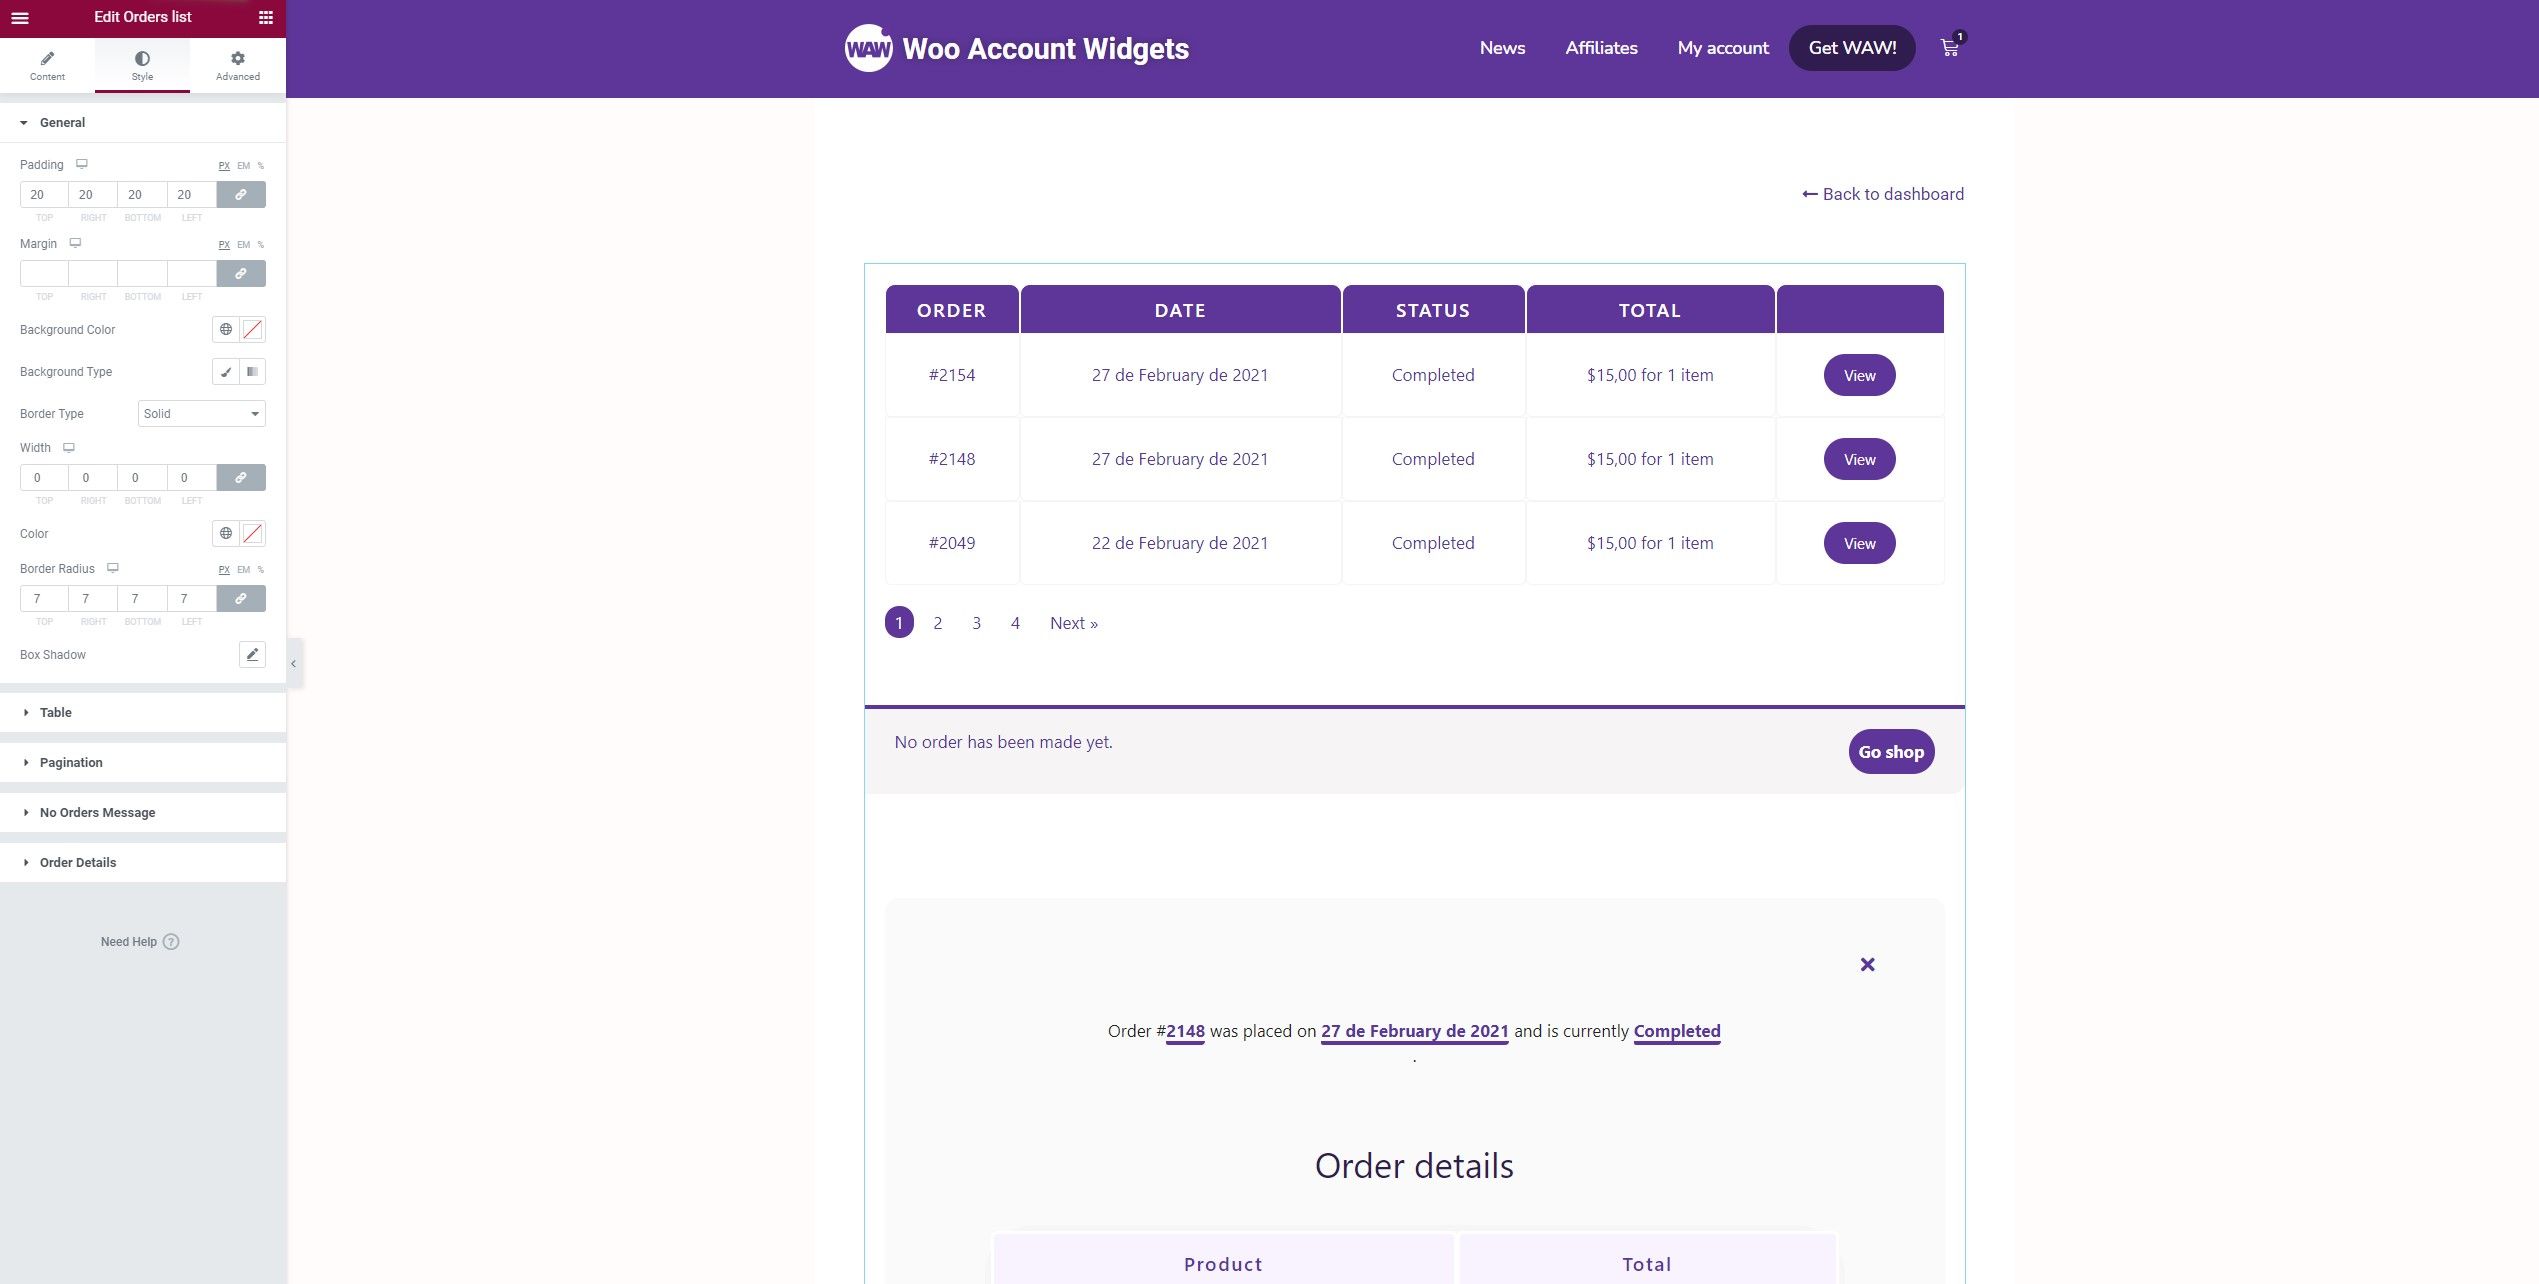
Customizing the WooCommerce Order List Table
Now that you understand how it works, let’s style the Order List widget.
You can easily apply styles directly from the Elementor editor to the following parts of the table:
General Container
Table
Table Header
Table Content
Action Buttons
Pagination
You can also style the “No orders message“, allowing you to customize the container, icon, message, and button independently.
Lastly, you can style the “Order details” in the following areas:
General Container
Sections
Order Status
Order Details
Addresses
As you can see, the widget is highly customizable and can be tailored to match your website’s design.
Once you’re satisfied with your changes, save the template and use it in the WooCommerce account page you’re building from scratch.
How to Add the Elementor Template to the Custom WooCommerce Account Page
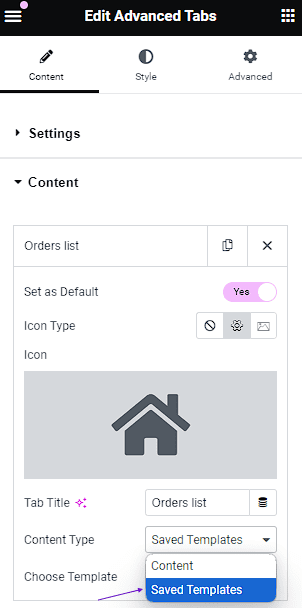
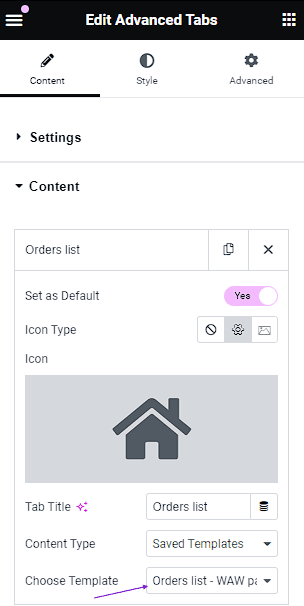
To add the Order List template, simply go back to the page, edit the Advanced Tabs widget, and access the Orders tab, where you’ll insert the template with the Order List widget.
Choose “Templates” as the tab content, and select the Order List template you created.
Now, your Orders section for your WooCommerce account page is complete.
Information regarding the information you provide when leaving your comment
Responsible: Alberto G.
Purpose: comments moderation
Legitimation: your consent, by button dialing.
Recipients: Webempresa servers (current hosting of this website).
Rights: access, rectification, limitation and / or deletion of your data.
These cookies can not be eaten, but they are great analyzing traffic to improve your browsing experience. Do you accept them? ACCEPTREJECTRead More
Cookies
Privacy Overview
This website uses cookies to improve your experience while you navigate through the website. Out of these, the cookies that are categorized as necessary are stored on your browser as they are essential for the working of basic functionalities of the website. We also use third-party cookies that help us analyze and understand how you use this website. These cookies will be stored in your browser only with your consent. You also have the option to opt-out of these cookies. But opting out of some of these cookies may affect your browsing experience.
Necessary cookies are absolutely essential for the website to function properly. This category only includes cookies that ensures basic functionalities and security features of the website. These cookies do not store any personal information.
Any cookies that may not be particularly necessary for the website to function and is used specifically to collect user personal data via analytics, ads, other embedded contents are termed as non-necessary cookies. It is mandatory to procure user consent prior to running these cookies on your website.




Information regarding the information you provide when leaving your comment
Responsible: Alberto G.
Purpose: comments moderation
Legitimation: your consent, by button dialing.
Recipients: Webempresa servers (current hosting of this website).
Rights: access, rectification, limitation and / or deletion of your data.