WooCommerce account page from scratch with Elementor and WAW
Alberto G.
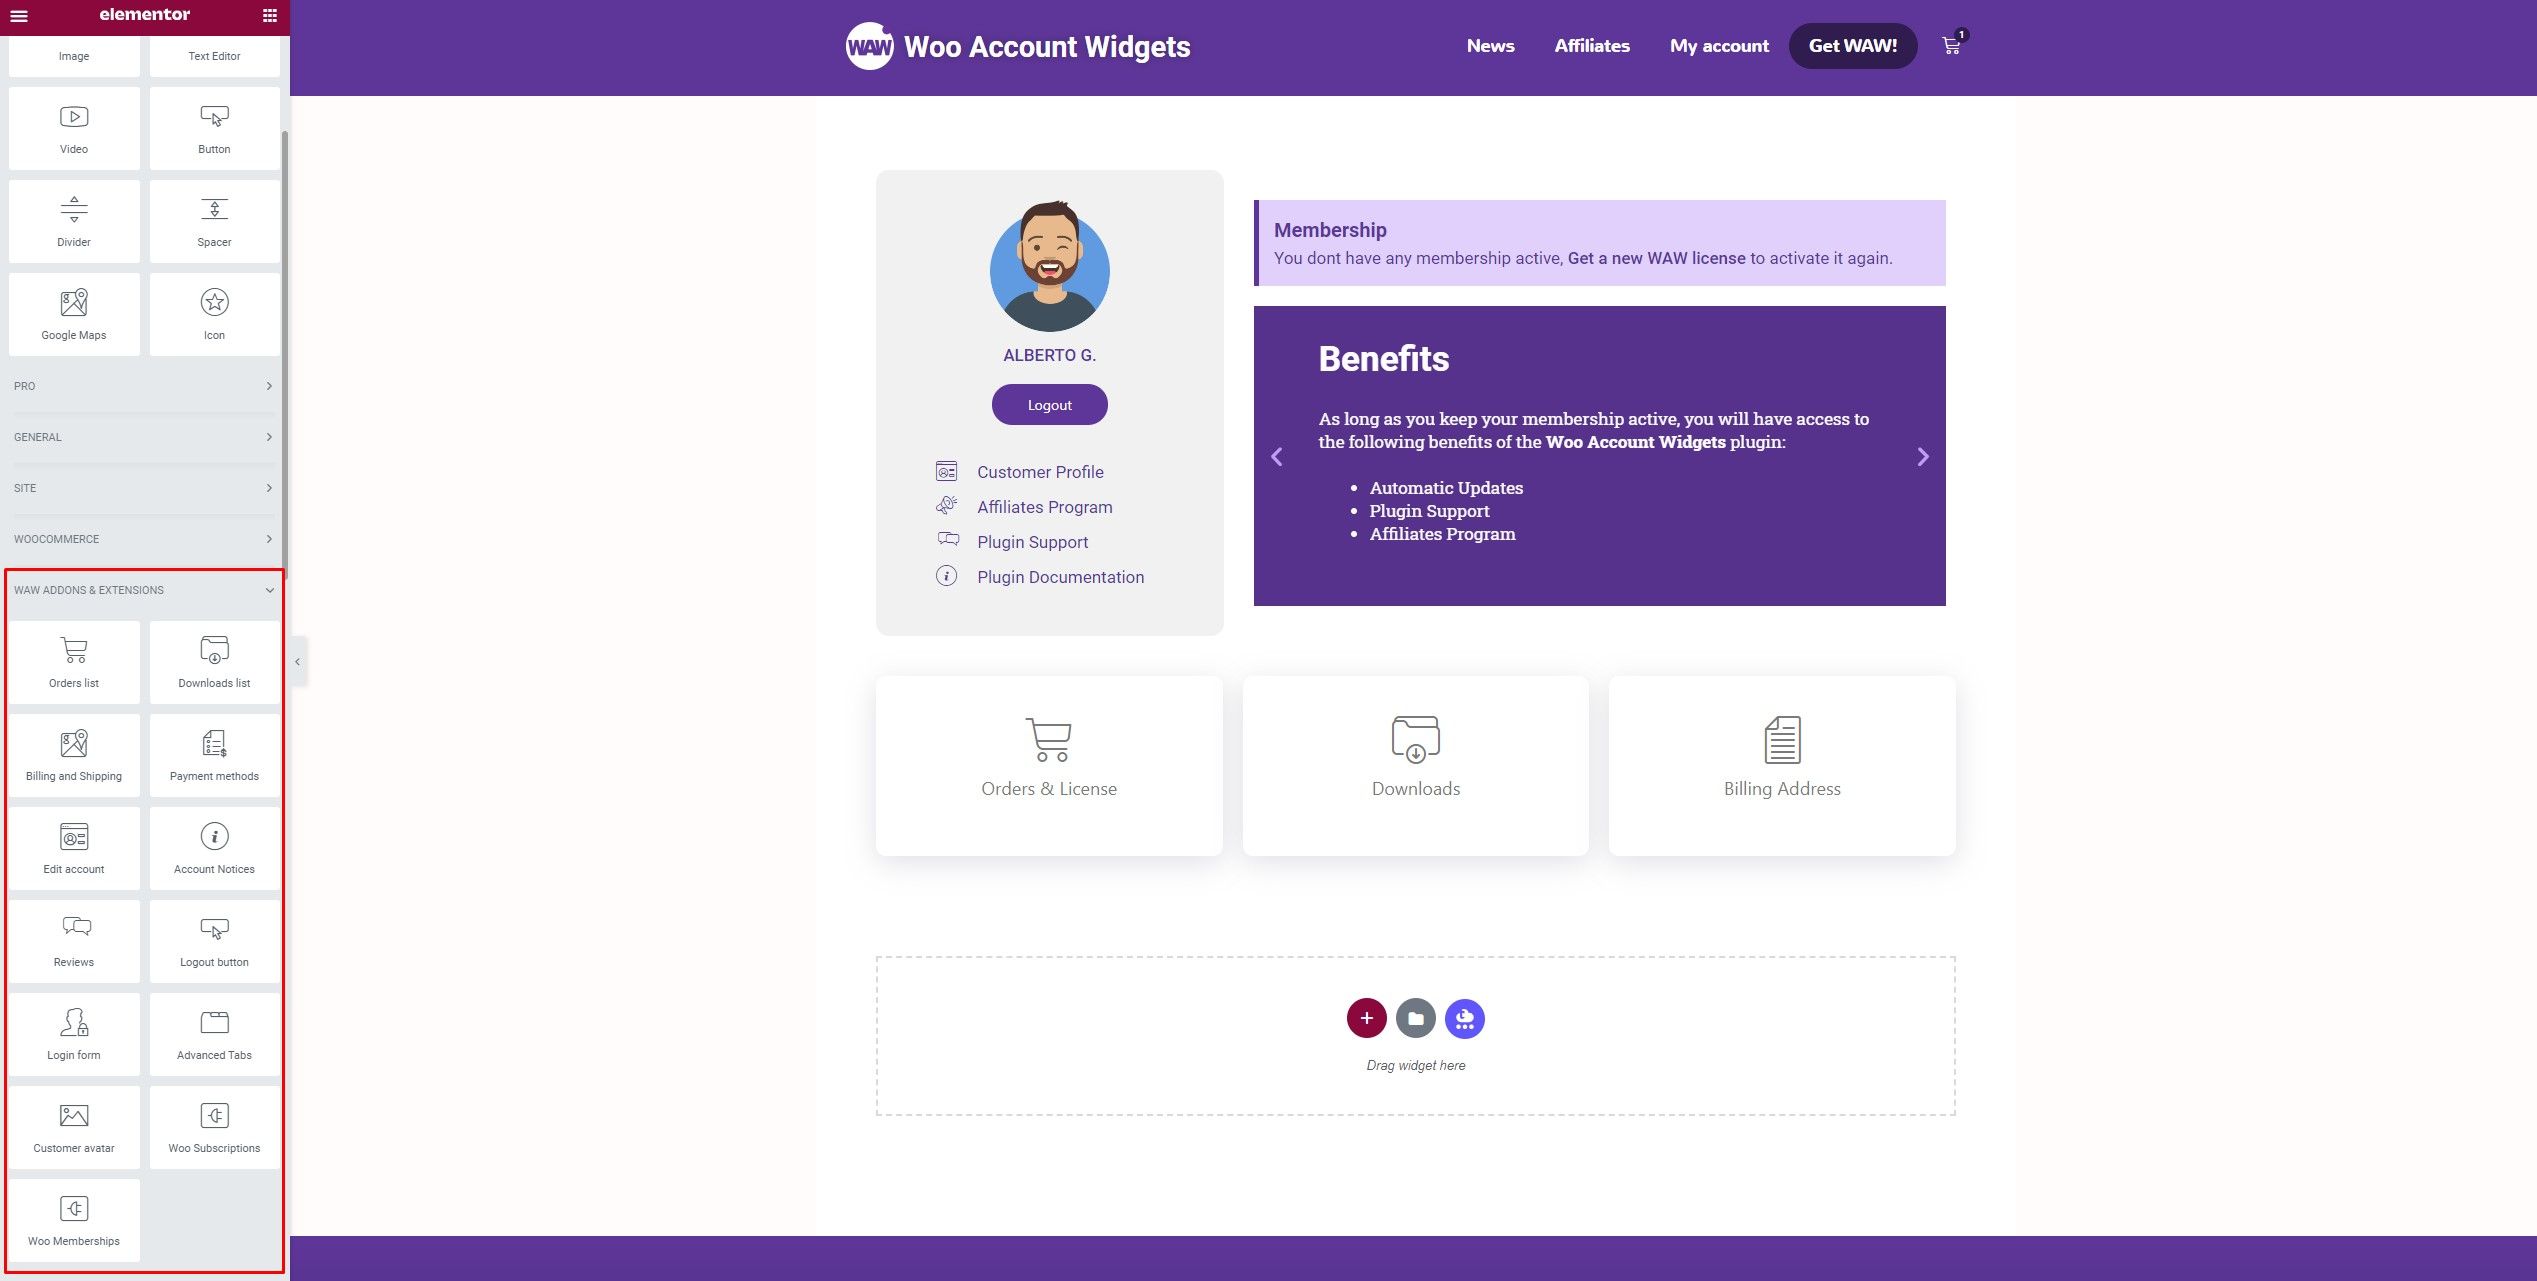
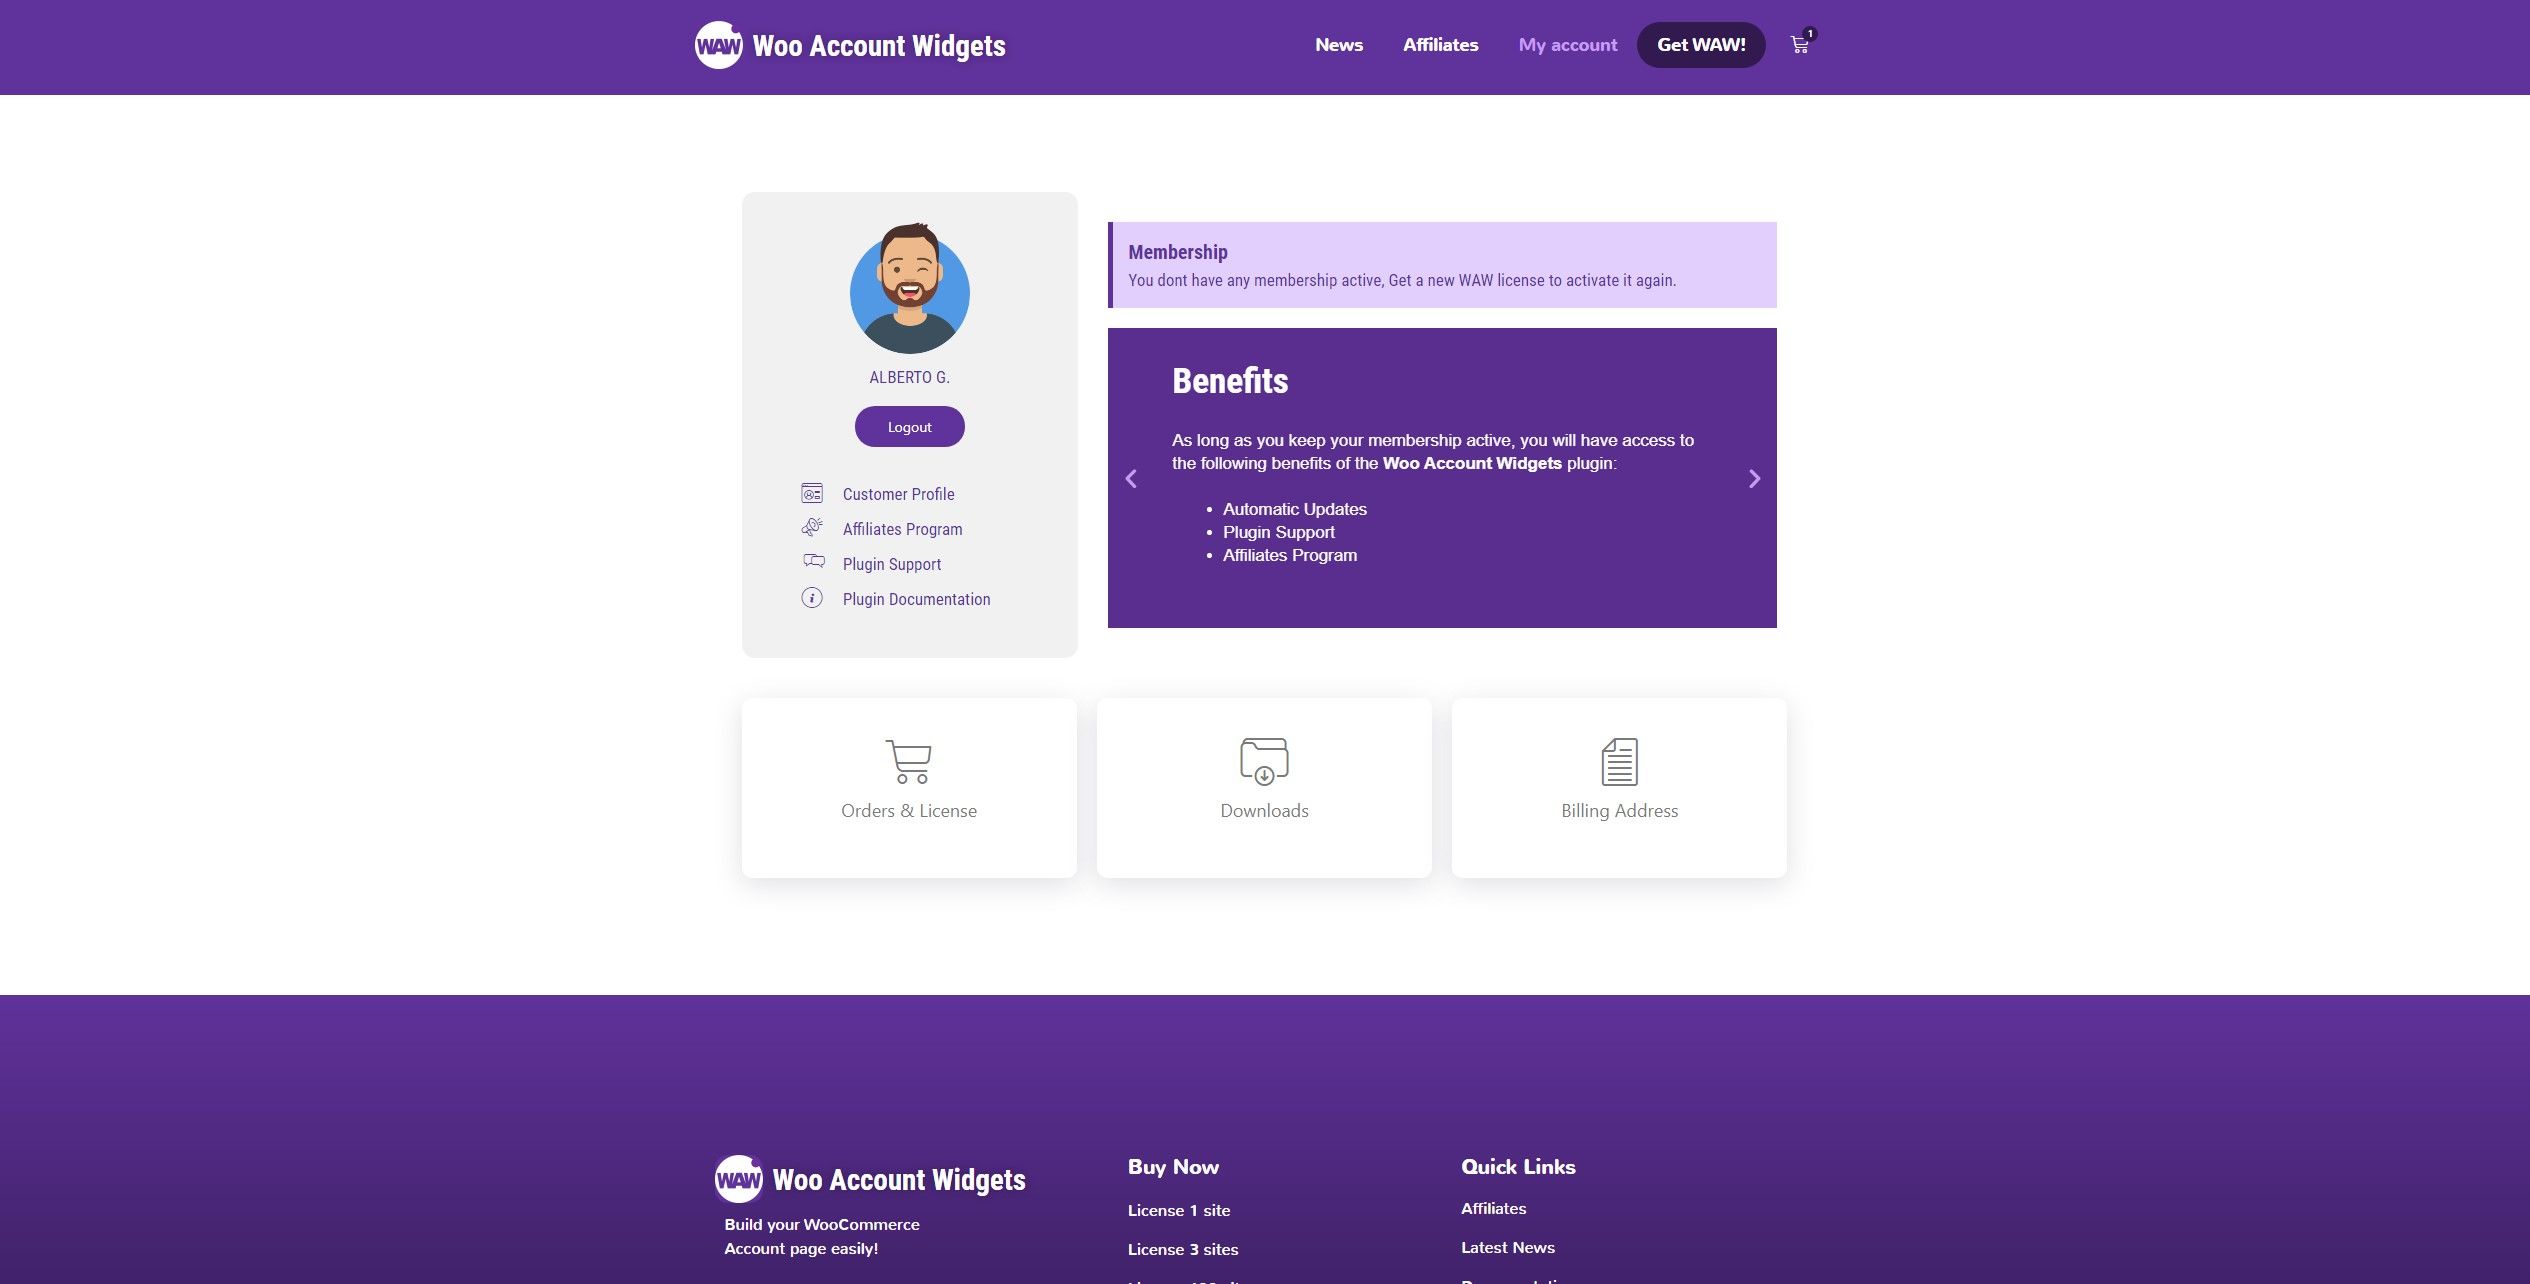
The main goal of Woo Account Widgets is to let you build a WooCommerce account page from scratch with Elementor, and without the need to add code.
The process is very simple, you have templates for Elementor prepared with an initial structure. Just by inserting them, you will have everything ready to just add content and customize it.
WAW templates, are basic structures, which are intended to serve as guides to learn, how to build a WooCommerce account page from scratch.
Now, let’s go to create a WooCommerce account page from scratch, and master the addons and extensions that Woo Account Widgets provides.
Building the WooCommerce account page from scratch
The process is really simple and can be divided into the following 3 steps:
First step
The first thing to be clear about, is on which page you want to build the account page.
By default, WooCommerce already creates one for you, within this page you will find the shortcode: [woocommerce_my_Account].
This shortcode, is responsible for displaying the entire account page:
The content that customers will see.
The content that those who are not customers, or have not logged in, will see.
Basically, if you decide to create your WooCommerce account page from scratch using this default page. You just need to remove the [woocommerce_my_Account] shortcode, and start editing the page with Elementor.
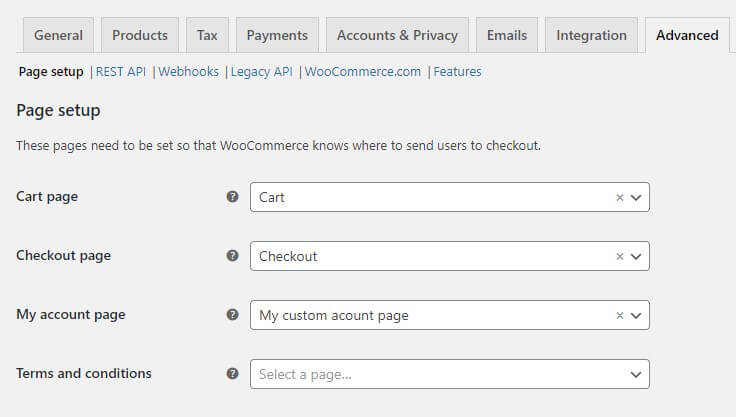
On the contrary, if you prefer to create the WooCommerce account page from scratch in a new blank page. You must assign it as the WooCommerce account page.
To do it, you just need to go to the WooCommerce settings, look for the “Advanced” tab, and choose your new page as the WooCommerce account page, from the drop-down menu.
Remember to save the settings to keep the changes.
Second step
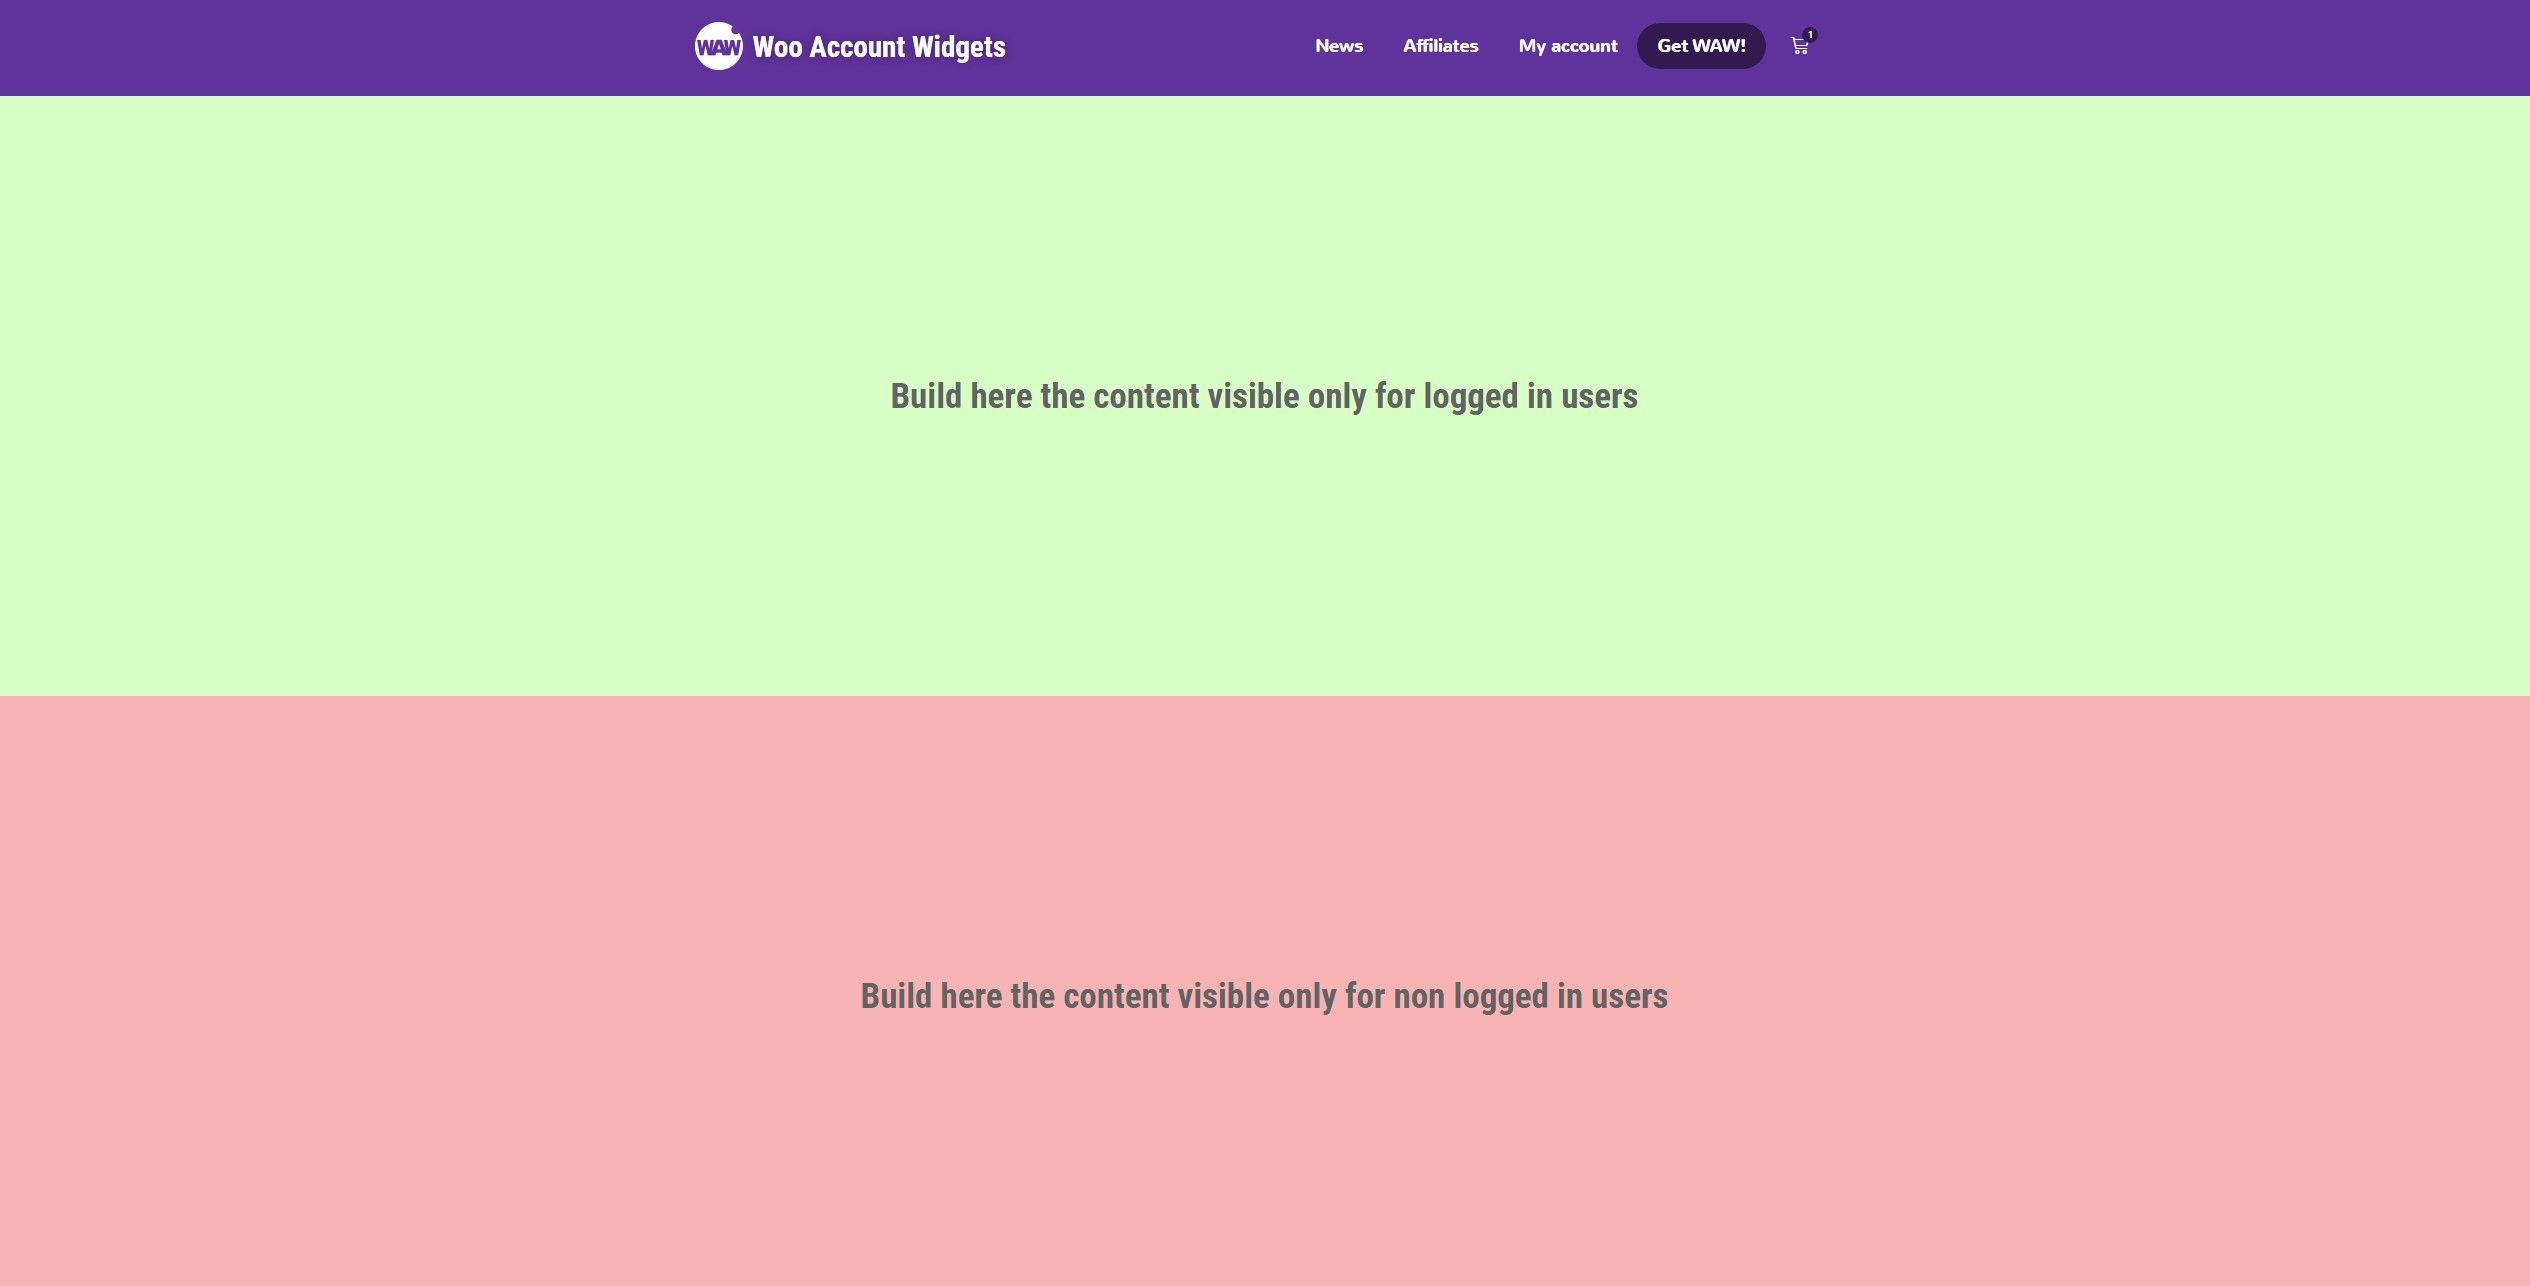
Once you have prepared the blank WooCommerce account page, is time to divide it.
It will differentiate, the content to the logged-in users, and the content that will see who are not logged in.
To do it, you only need to add 2 rows using the Elementor editor.
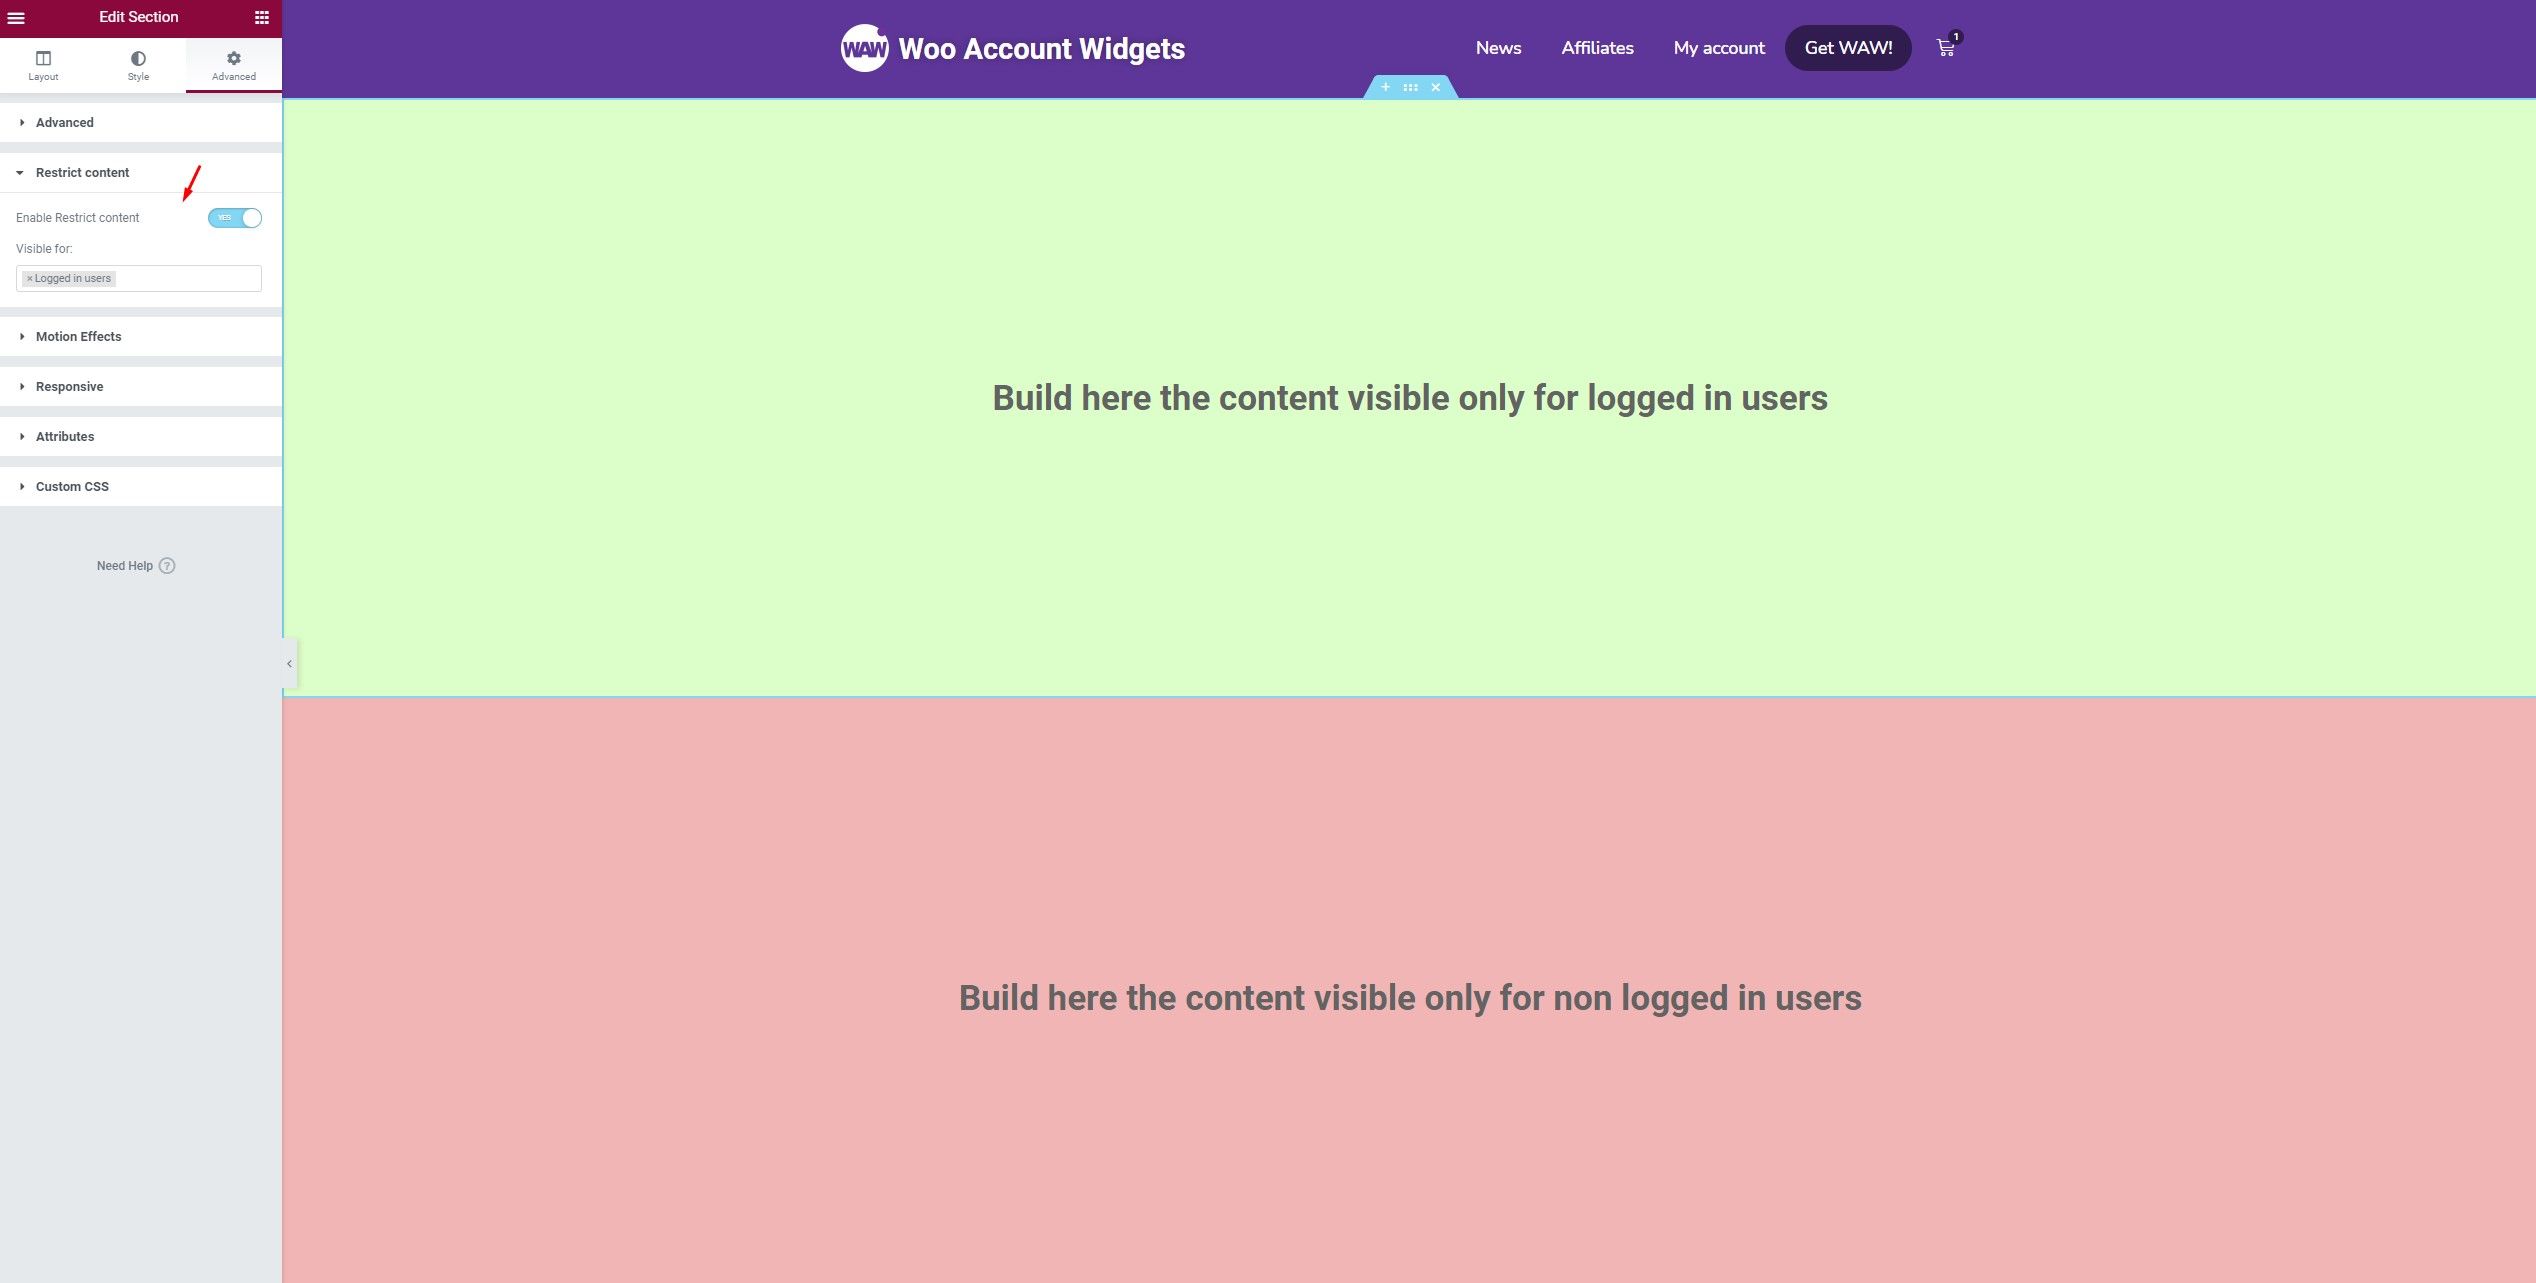
With the Restrict Elements extension active (in the Woo Account Widgets settings). Do right-click on the first row, and go to the “Advanced” tab, where you will find the Restrict elements section.
Finally, activate the option to restrict content, and assign the content to be “visible” to logged-in users.
All the row, and the content included, will only be shown to those users.
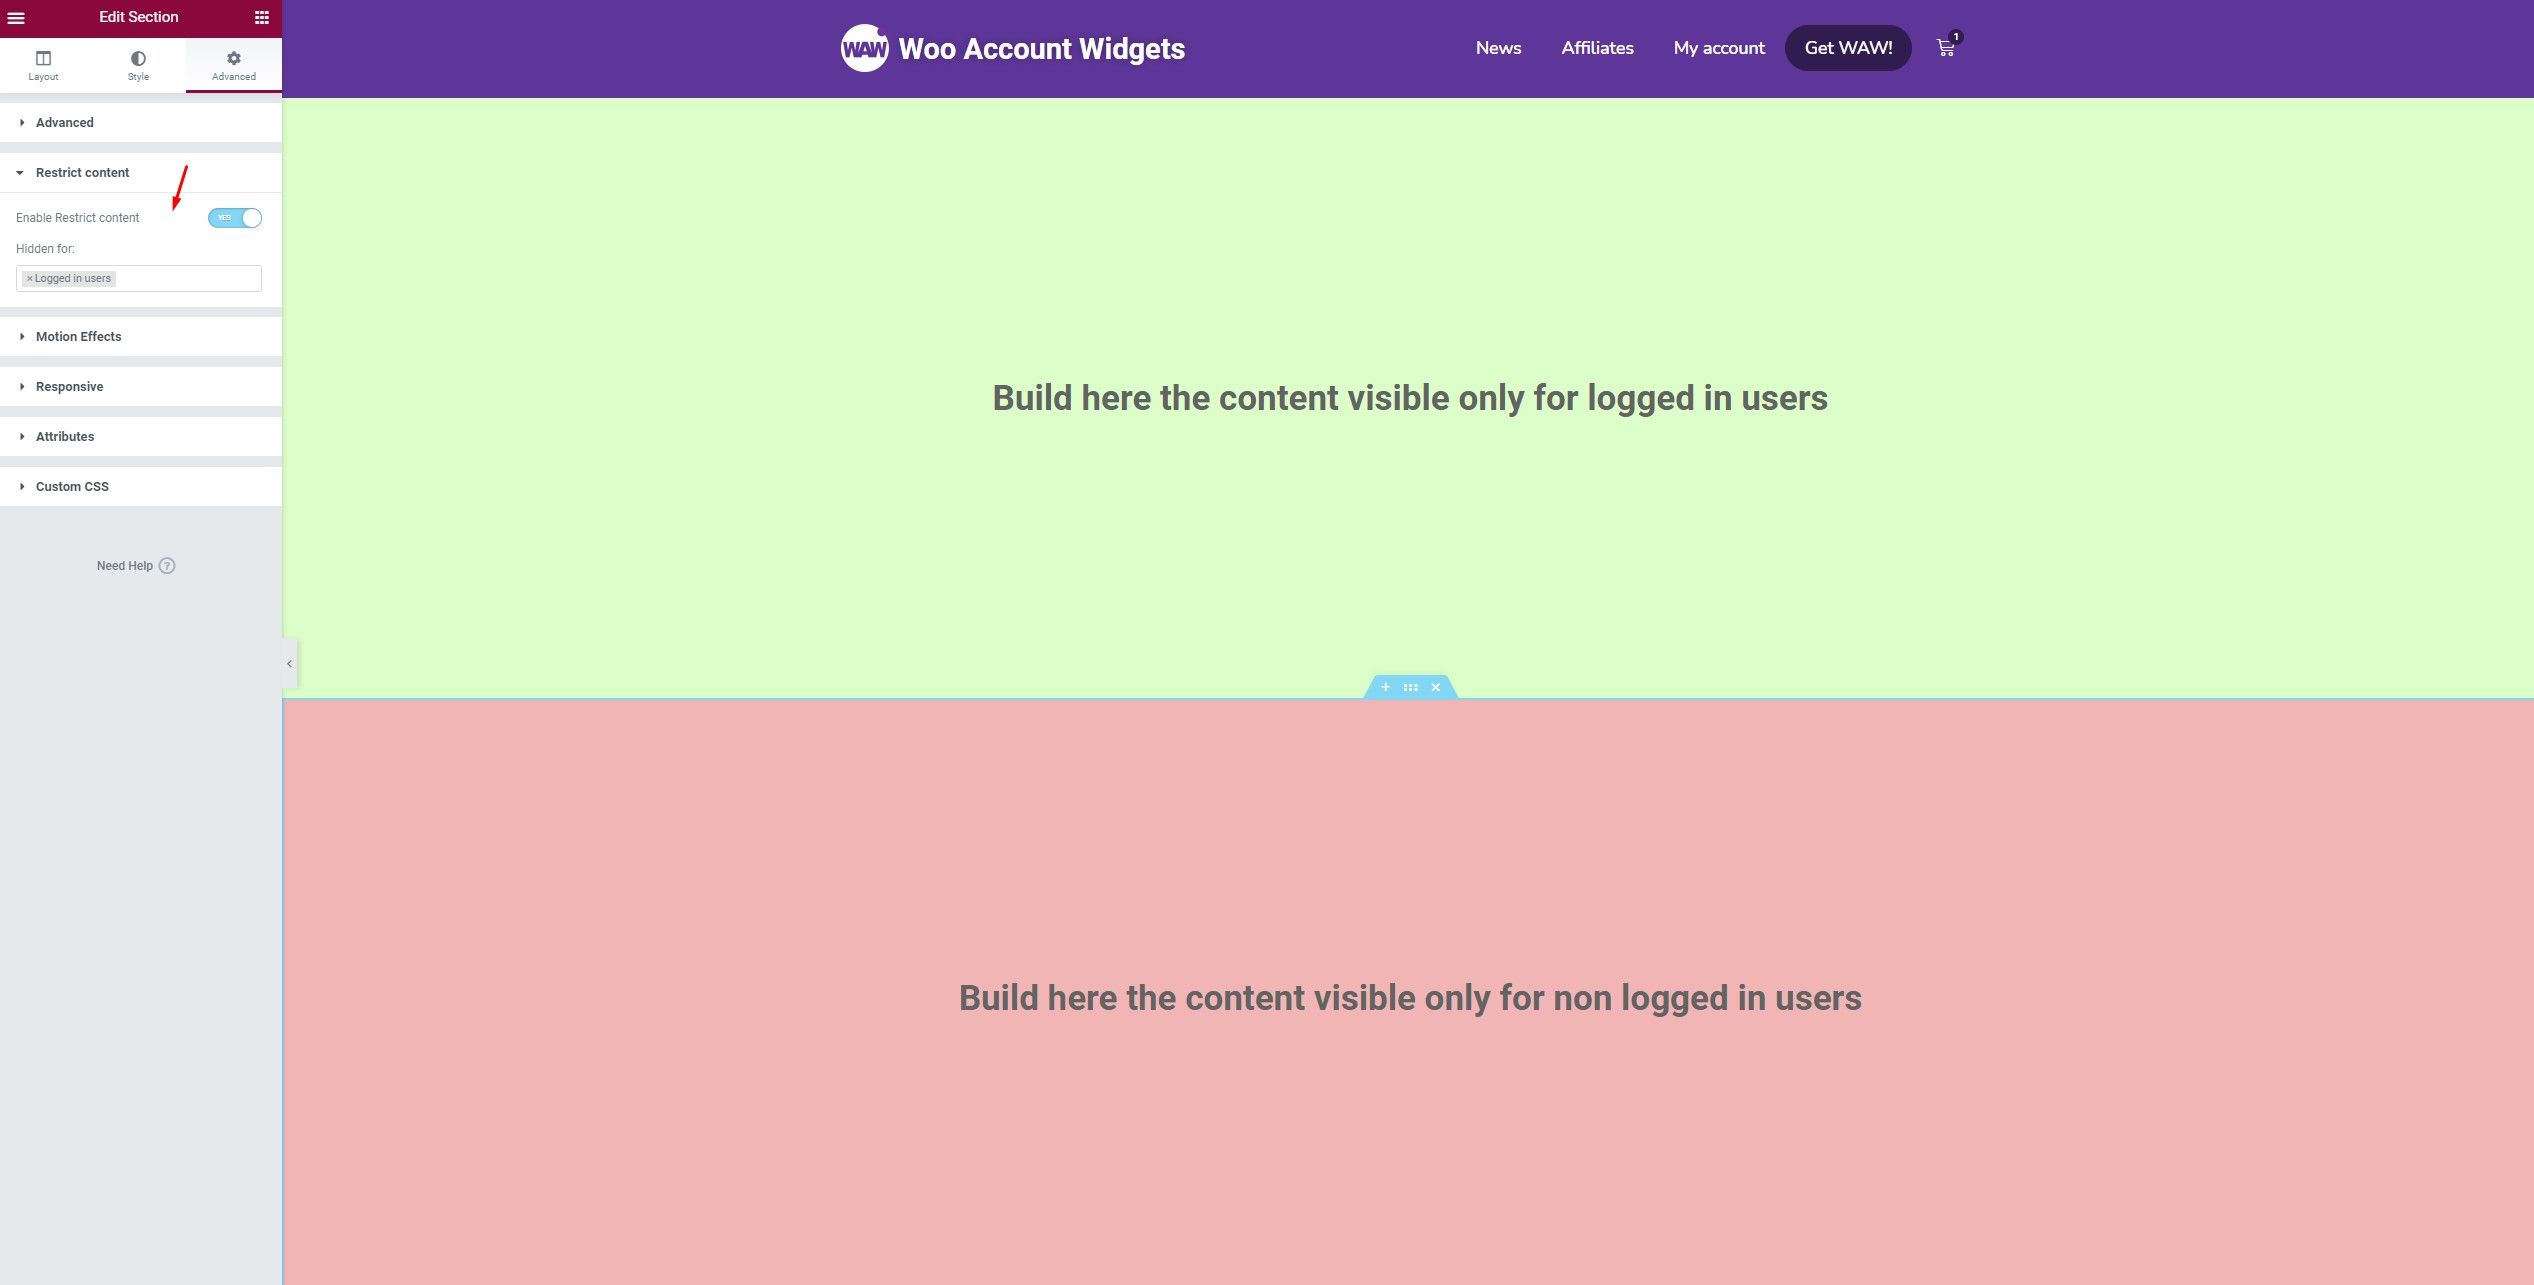
Following with the second row, just repeat the same process, but this time, assign the content as “Hidden” for logged-in users.
Then, the content only will be shown to non-logged-in users.
Third step
Once the rows are configured, you can start adding content to each of them:
Logged-in users row
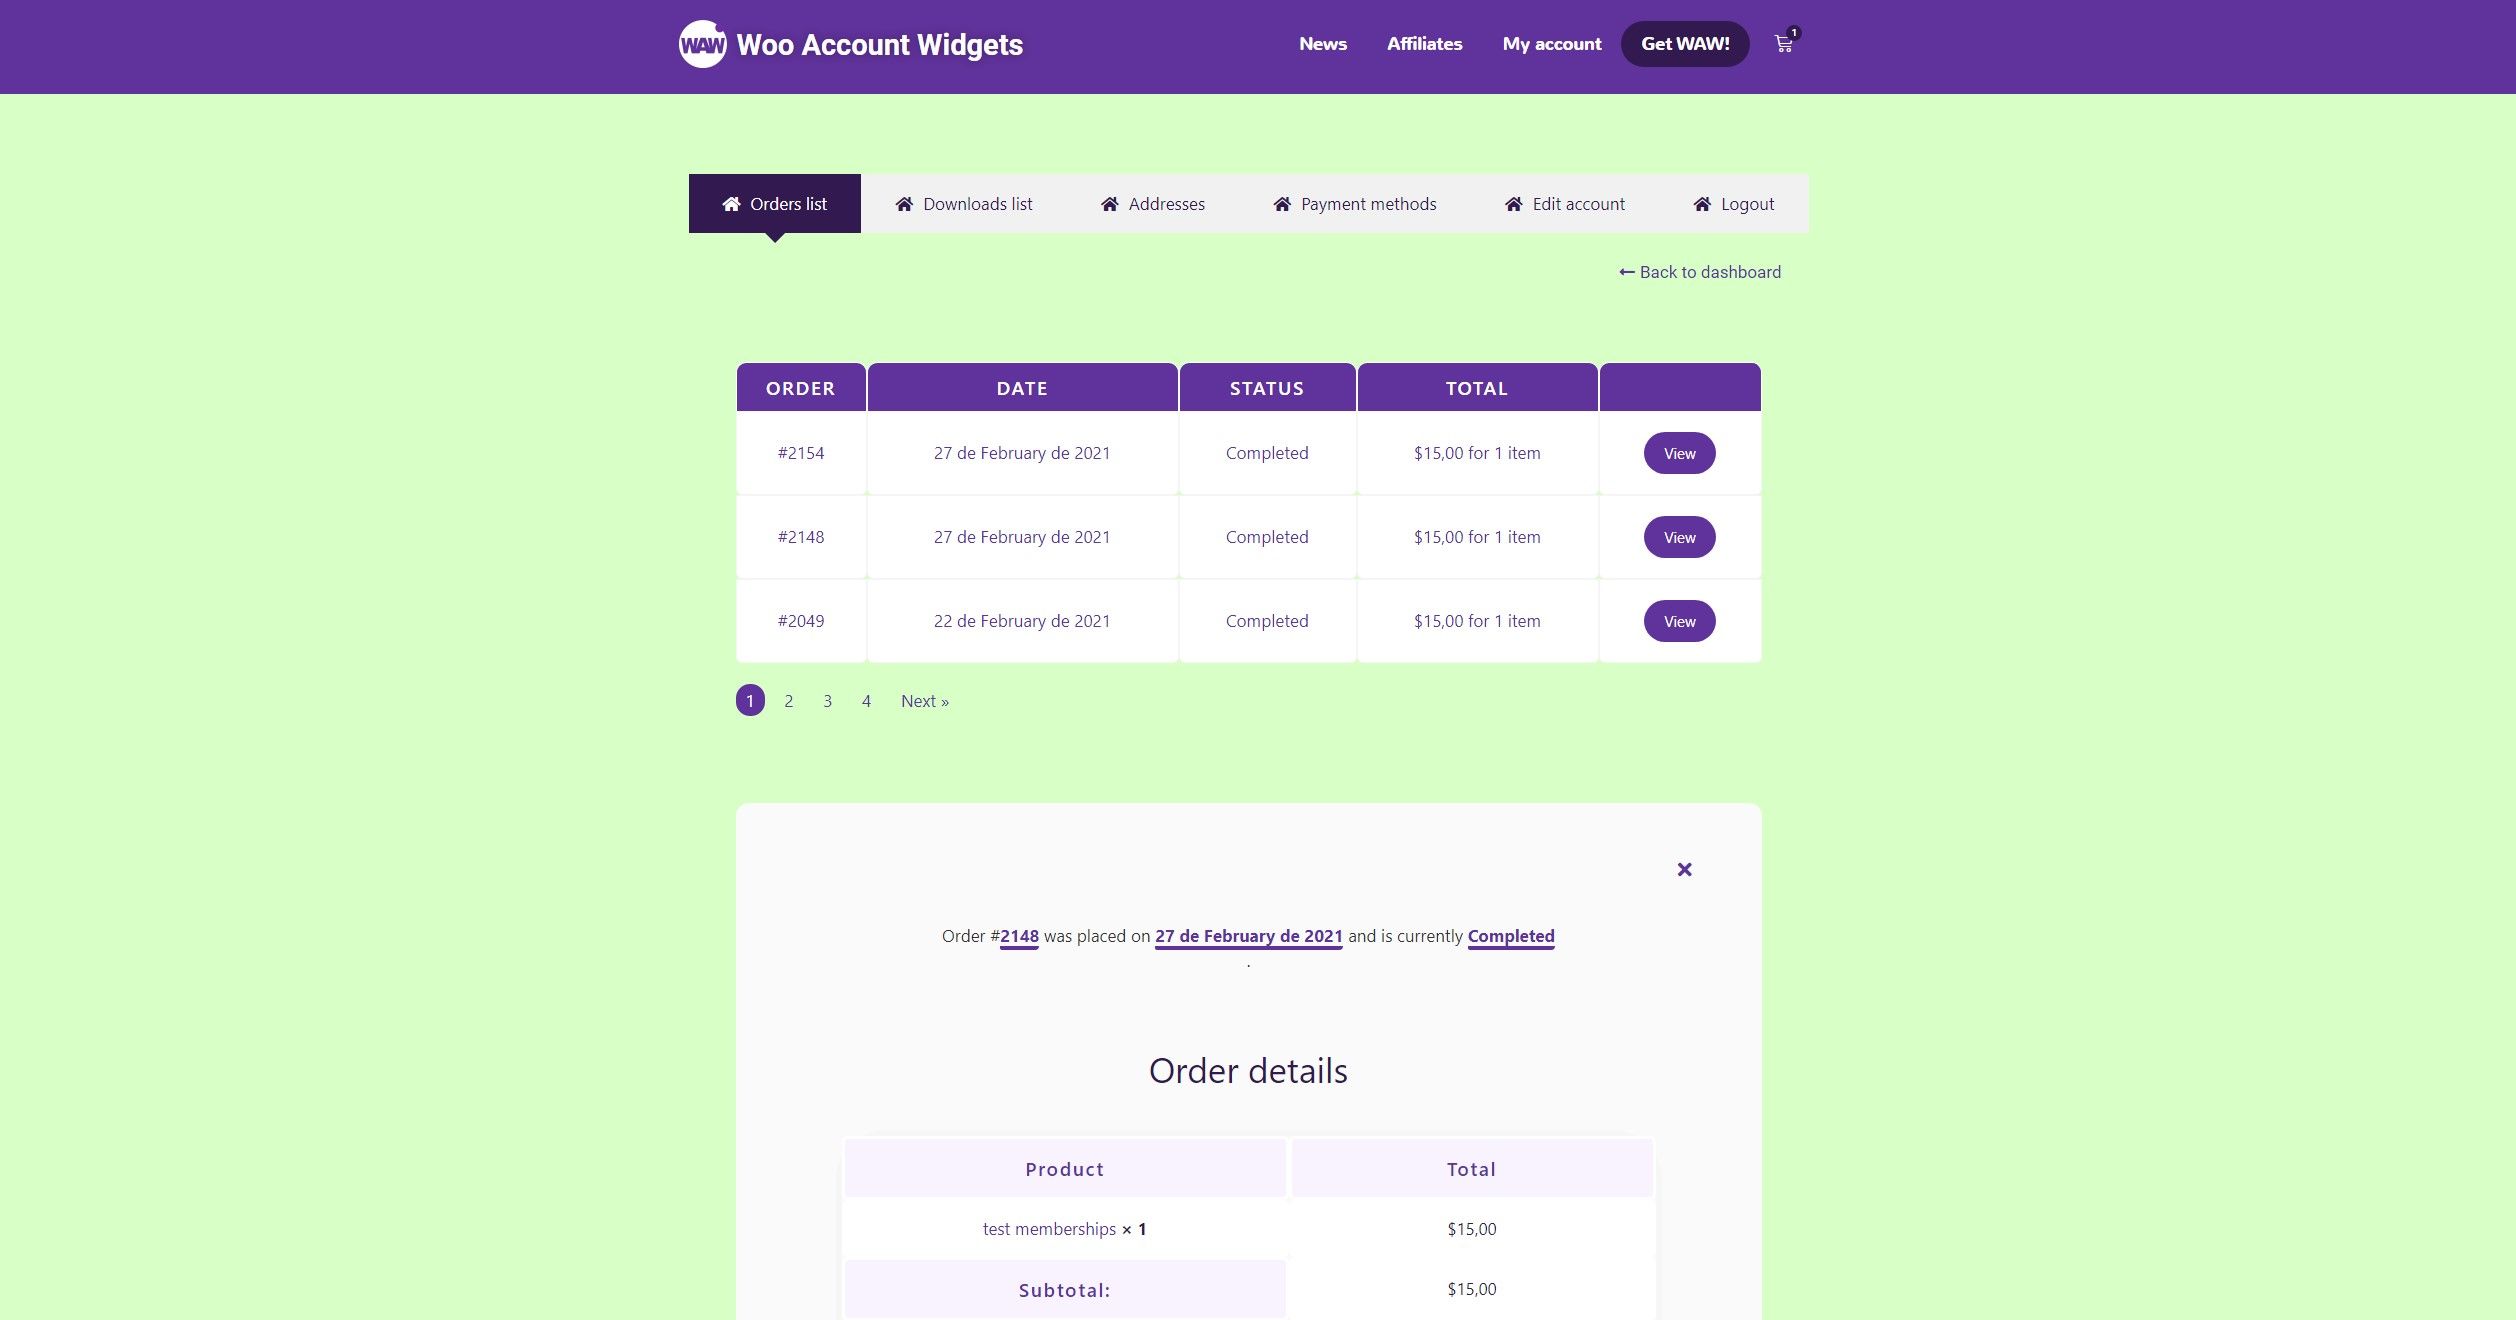
In this case, in the row that will show the content to logged-in users, lets to add the extension “Advanced tabs“.
It will to generate a structure based on tabs, in which the content of the WooCommerce account page will be displayed, separated by sections.
To do this, you must first have the “Advanced tabs” extension active (in the Woo Account Widgets settings).
Then, the widget will appear in the Elementor editor, so you just have to drag and drop it into the first row.
By default, the Advanced tabs widget comes with tabs pre-configured with the basic sections of the WooCommerce account page. But you can add, modify or remove the tabs as you need.
Non-Logged-in users row
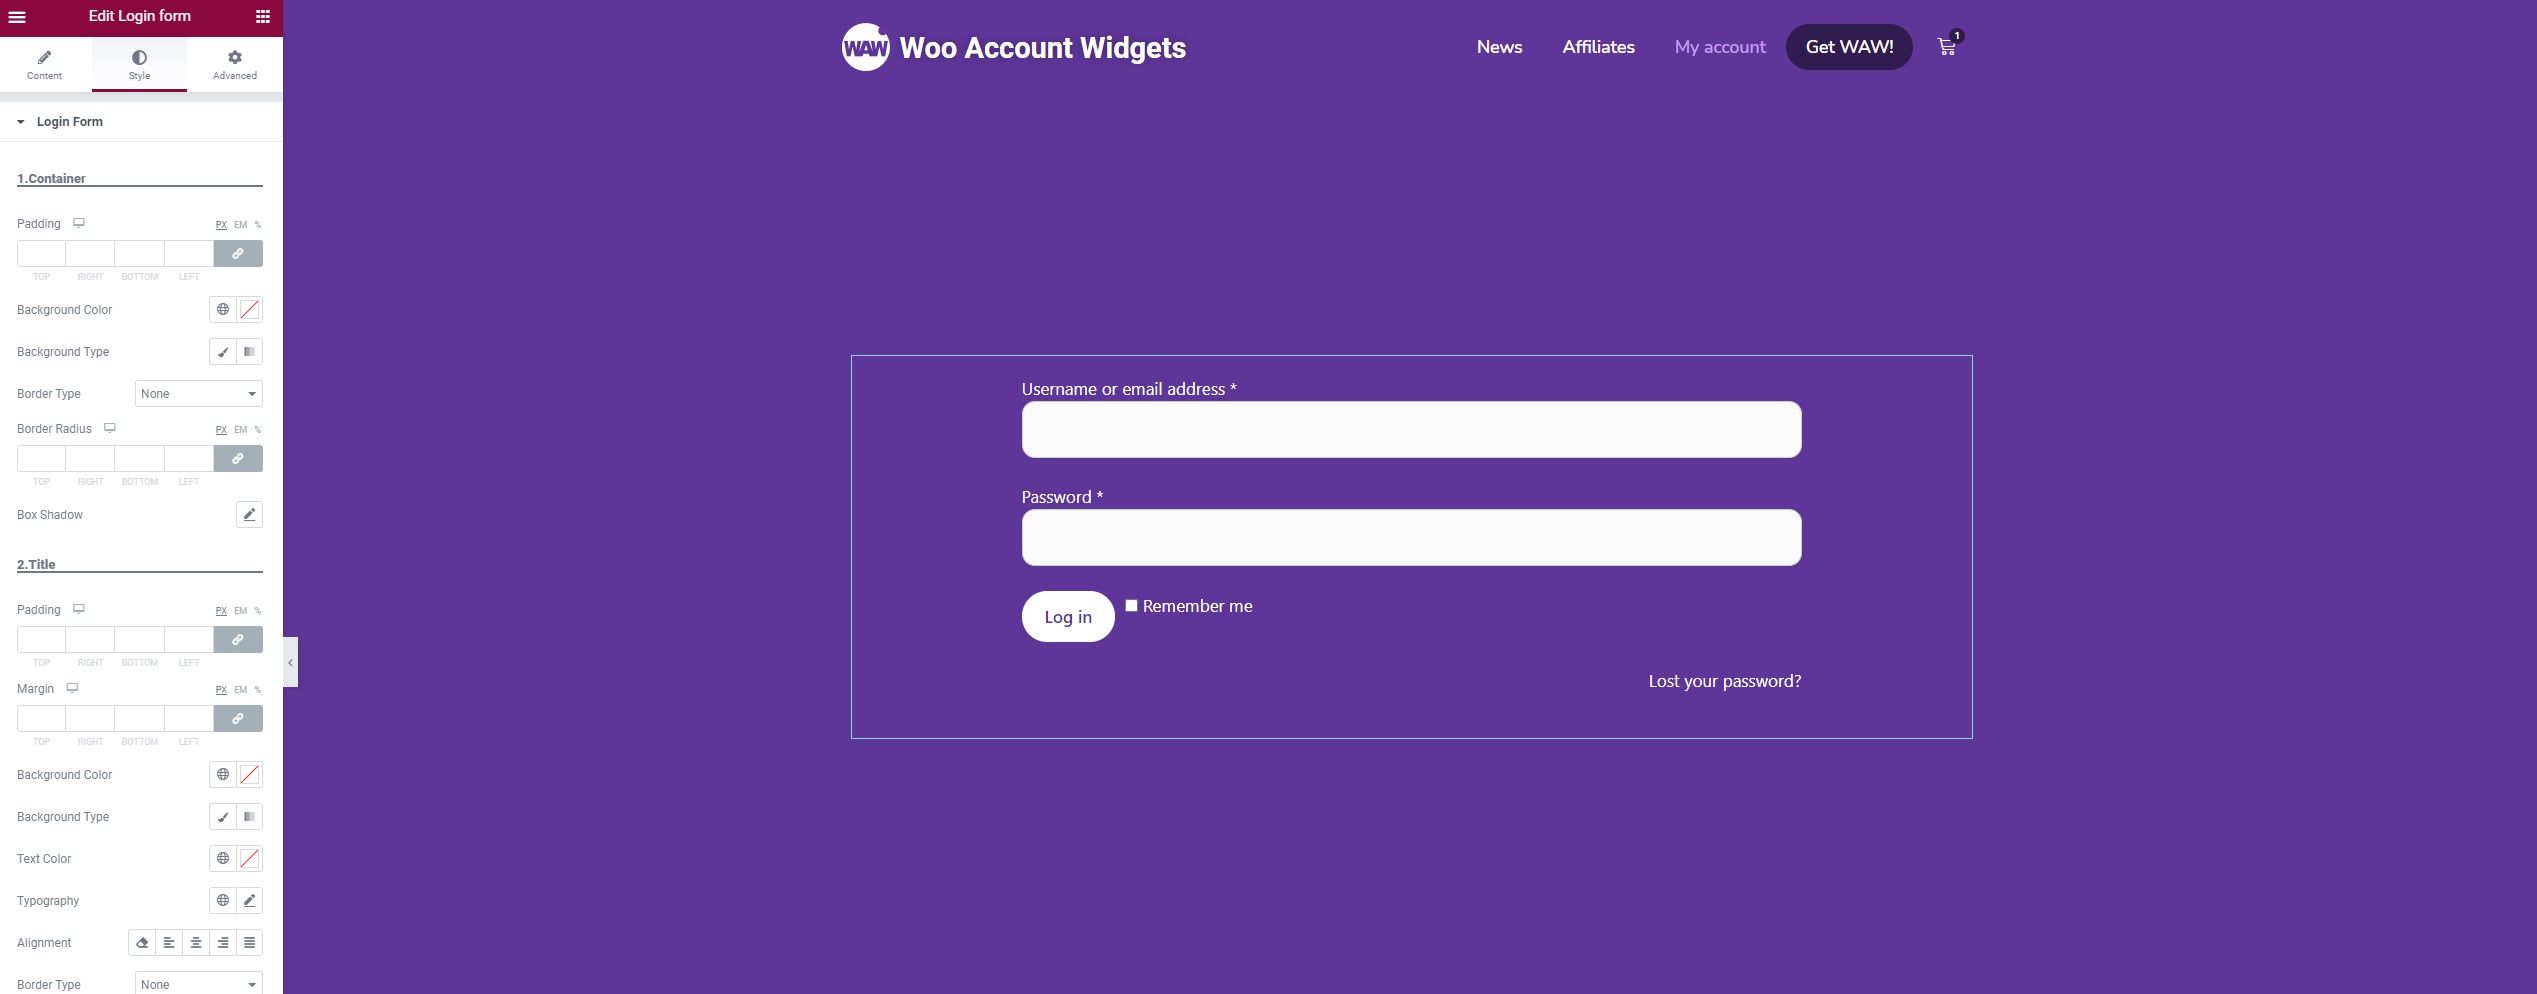
In the second row, lets to create an even simpler structure, which allows displaying elements such as the login form.
With this, you already have the division of the page finished, and will display the content dynamically depending on whether the user has logged-in or not.
Now, you can start to customize each row with your custom styles, and add content using the Elementor editor.
Basically, in this case only has been customized the row background color, the login form fields, texts and button color using the powerful styling options of the Login form widget.
The first row, already have the structure set up with the “Advanced tabs” extension, so it’s time to add the content on each tab with two options:
Text / HTML, you can add content to each tab using this option, which is a bit limited since it will not allow adding the widgets directly.
Elementor Templates, you can create a template with the content as you need, and choose it as the tab content.
The recommended option is to display the content of the tabs with Elementor templates, where you can add the widgets without any problem.
Comparatively, with the by default WooCommerce account page customization, the process is very easy, and allows you to create any WooCommerce account page from scratch. Using totally the Elementor editor and without add code.
You just have to follow these steps, and let fly your imagination.
Information regarding the information you provide when leaving your comment
Responsible: Alberto G.
Purpose: comments moderation
Legitimation: your consent, by button dialing.
Recipients: Webempresa servers (current hosting of this website).
Rights: access, rectification, limitation and / or deletion of your data.
These cookies can not be eaten, but they are great analyzing traffic to improve your browsing experience. Do you accept them? ACCEPTREJECTRead More
Cookies
Privacy Overview
This website uses cookies to improve your experience while you navigate through the website. Out of these, the cookies that are categorized as necessary are stored on your browser as they are essential for the working of basic functionalities of the website. We also use third-party cookies that help us analyze and understand how you use this website. These cookies will be stored in your browser only with your consent. You also have the option to opt-out of these cookies. But opting out of some of these cookies may affect your browsing experience.
Necessary cookies are absolutely essential for the website to function properly. This category only includes cookies that ensures basic functionalities and security features of the website. These cookies do not store any personal information.
Any cookies that may not be particularly necessary for the website to function and is used specifically to collect user personal data via analytics, ads, other embedded contents are termed as non-necessary cookies. It is mandatory to procure user consent prior to running these cookies on your website.





Information regarding the information you provide when leaving your comment
Responsible: Alberto G.
Purpose: comments moderation
Legitimation: your consent, by button dialing.
Recipients: Webempresa servers (current hosting of this website).
Rights: access, rectification, limitation and / or deletion of your data.