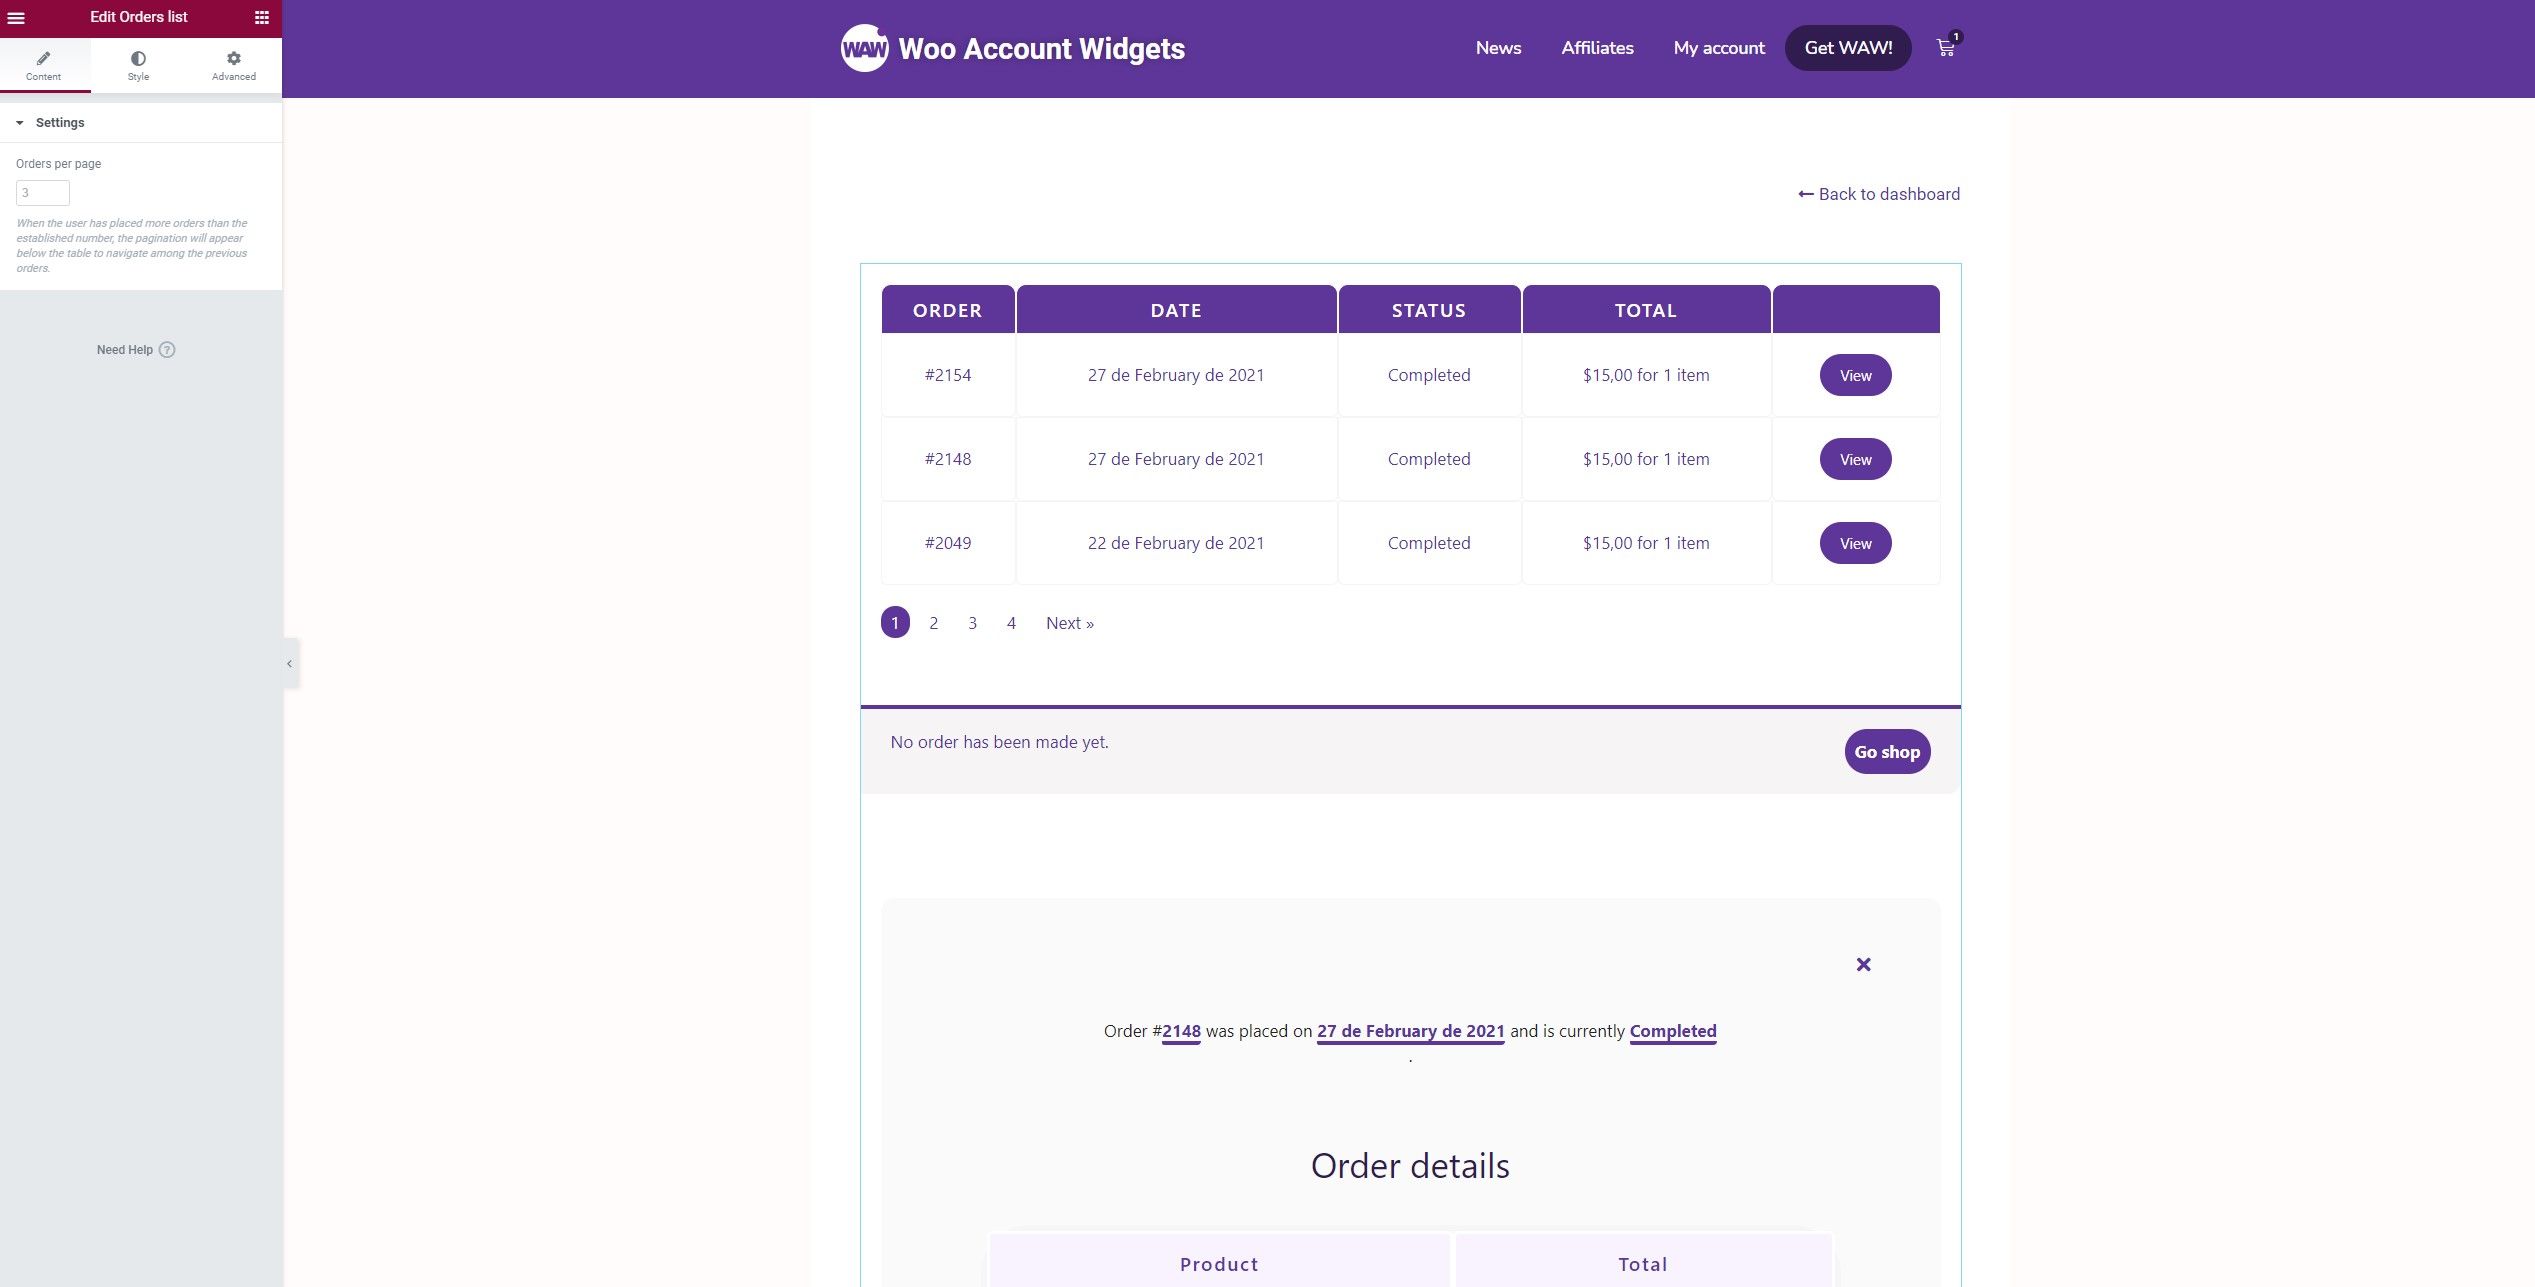
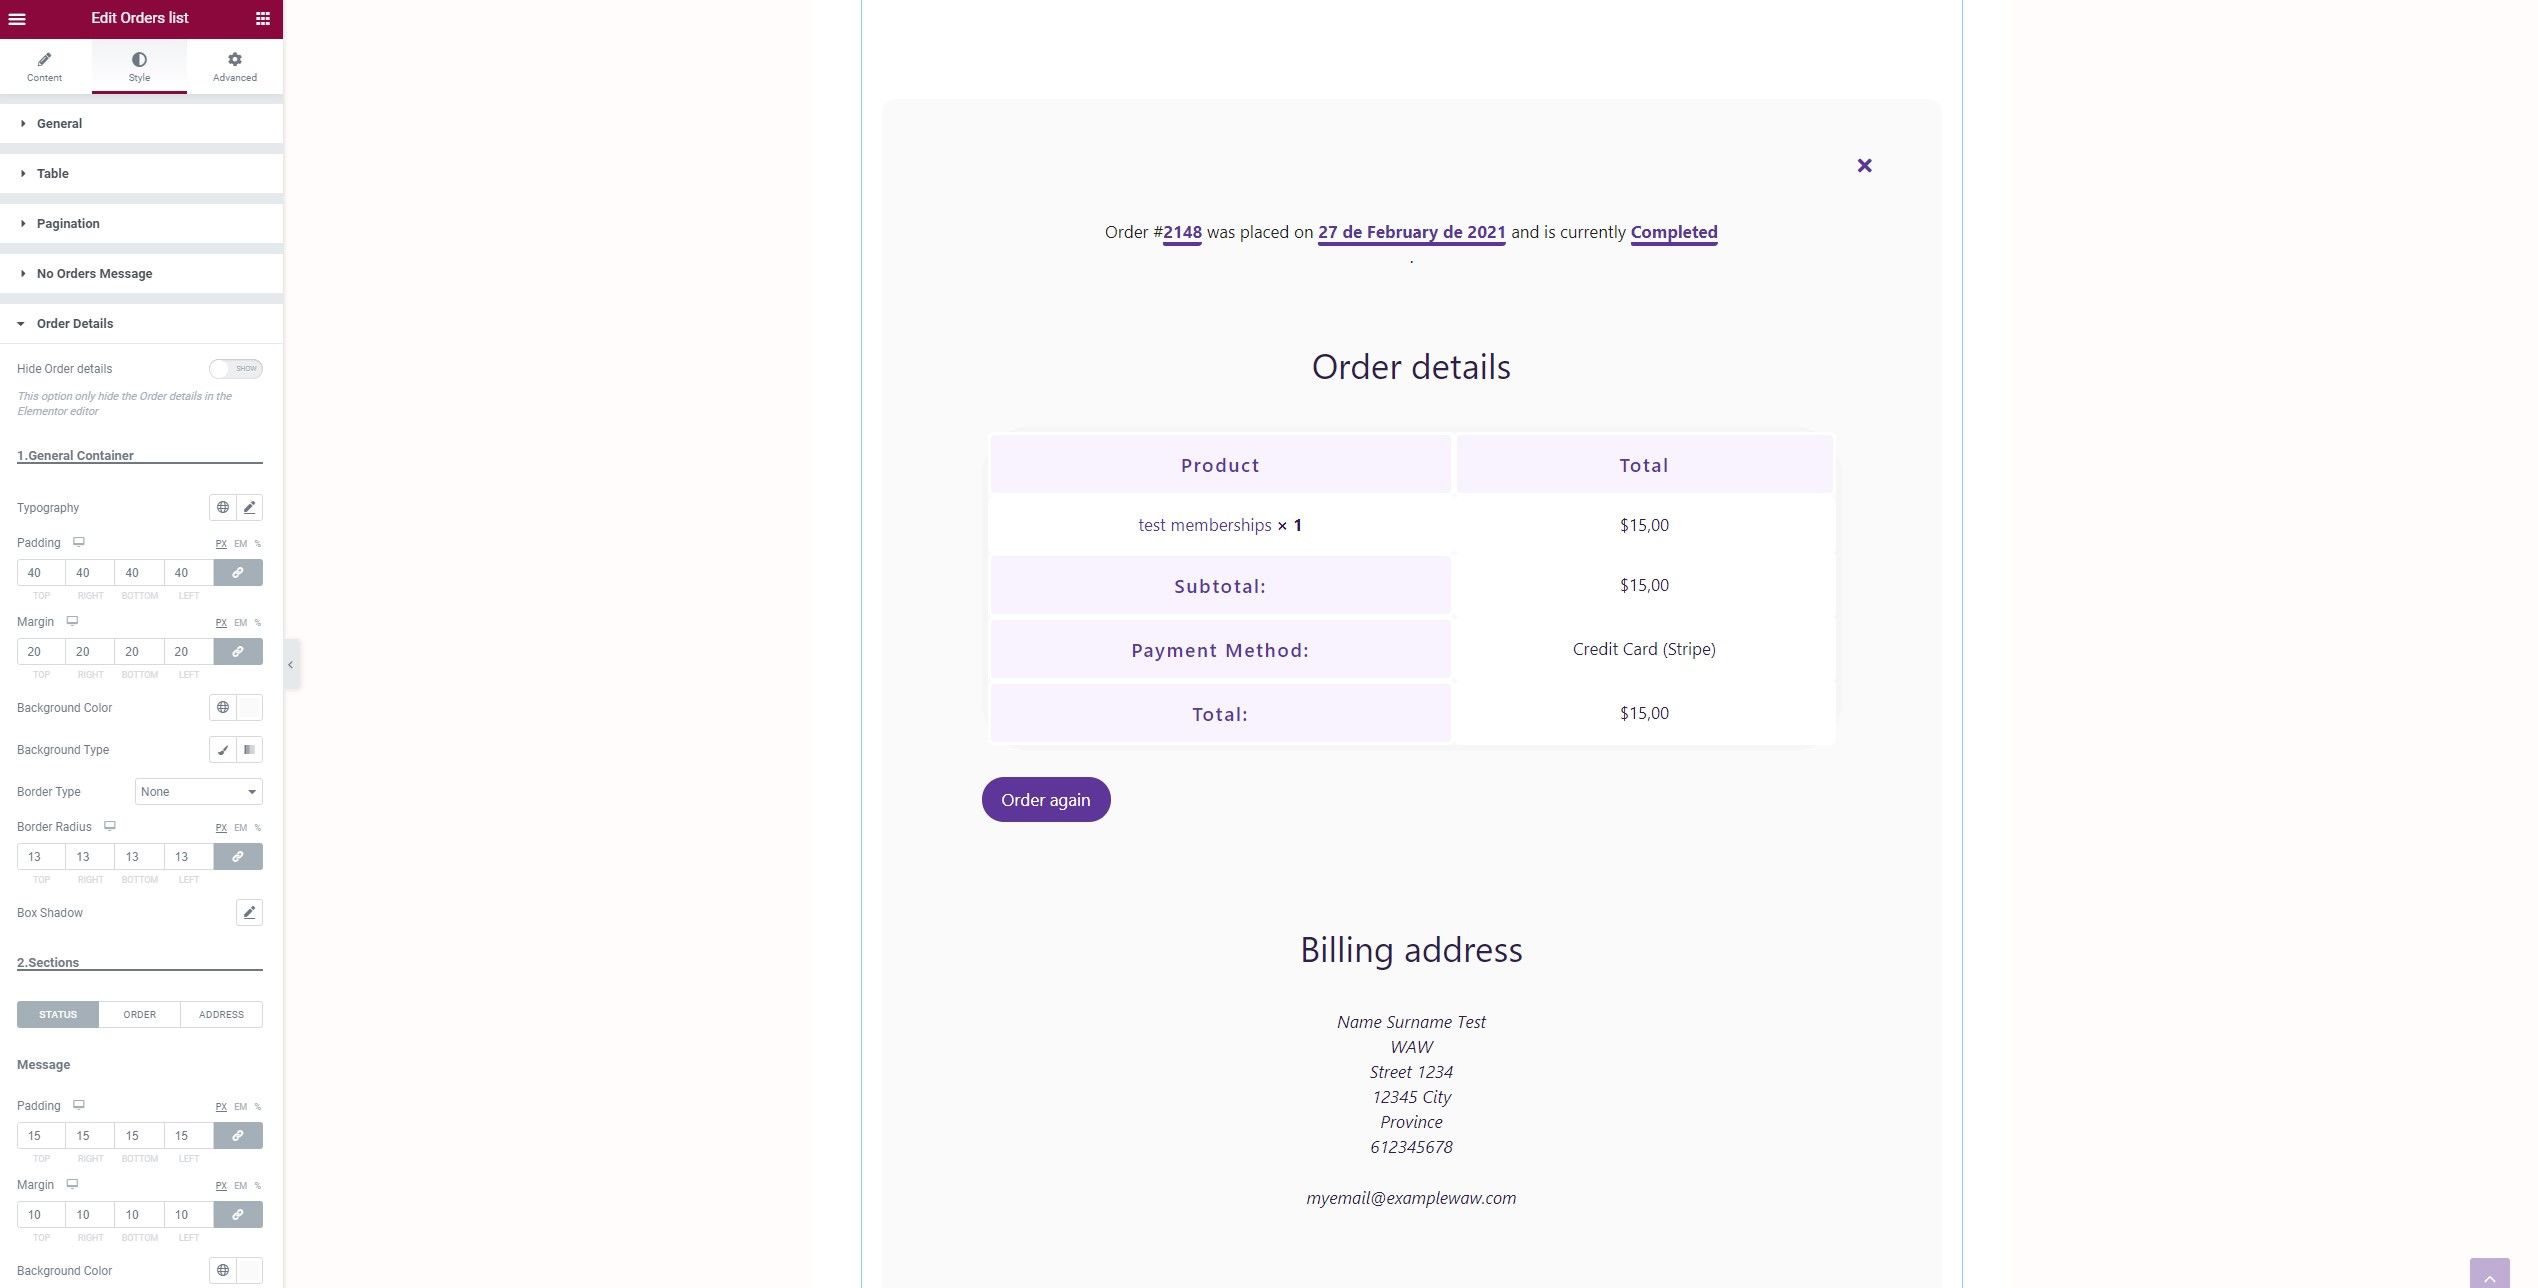
The Orders list addon is ready to display the WooCommerce Orders list. Just need to activate the addon from the plugin Addons tab and save the settings.
This addon only will work if you use it in a page selected as the WooCommerce account page, so you can use it in the by default WooCommerce account page, removing the by default shortcode [woocommerce_my_Account] to avoid conflicts and ensure that it will work correctly.
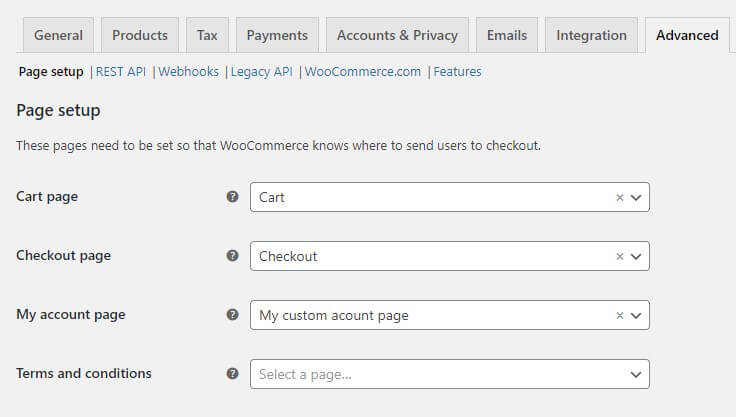
Also, you can build your custom account page from scratch and assign it as the WooCommerce account page, to do it just need go to: WooCommerce > Settings > Advanced and look for the dropdown menu where you can choose the page as the WooCommerce account page.
You can use this widget directly on the account page with just drag & drop. Although it can also be added in an Elementor template, so that later you can add it where you need, for example as tab content using the Advanced tabs extension.
How to configure the Addon?
This widget includes an option to set the number of orders to display per page, by default it will display 15 orders per page, but with this option you can modify the quantity.
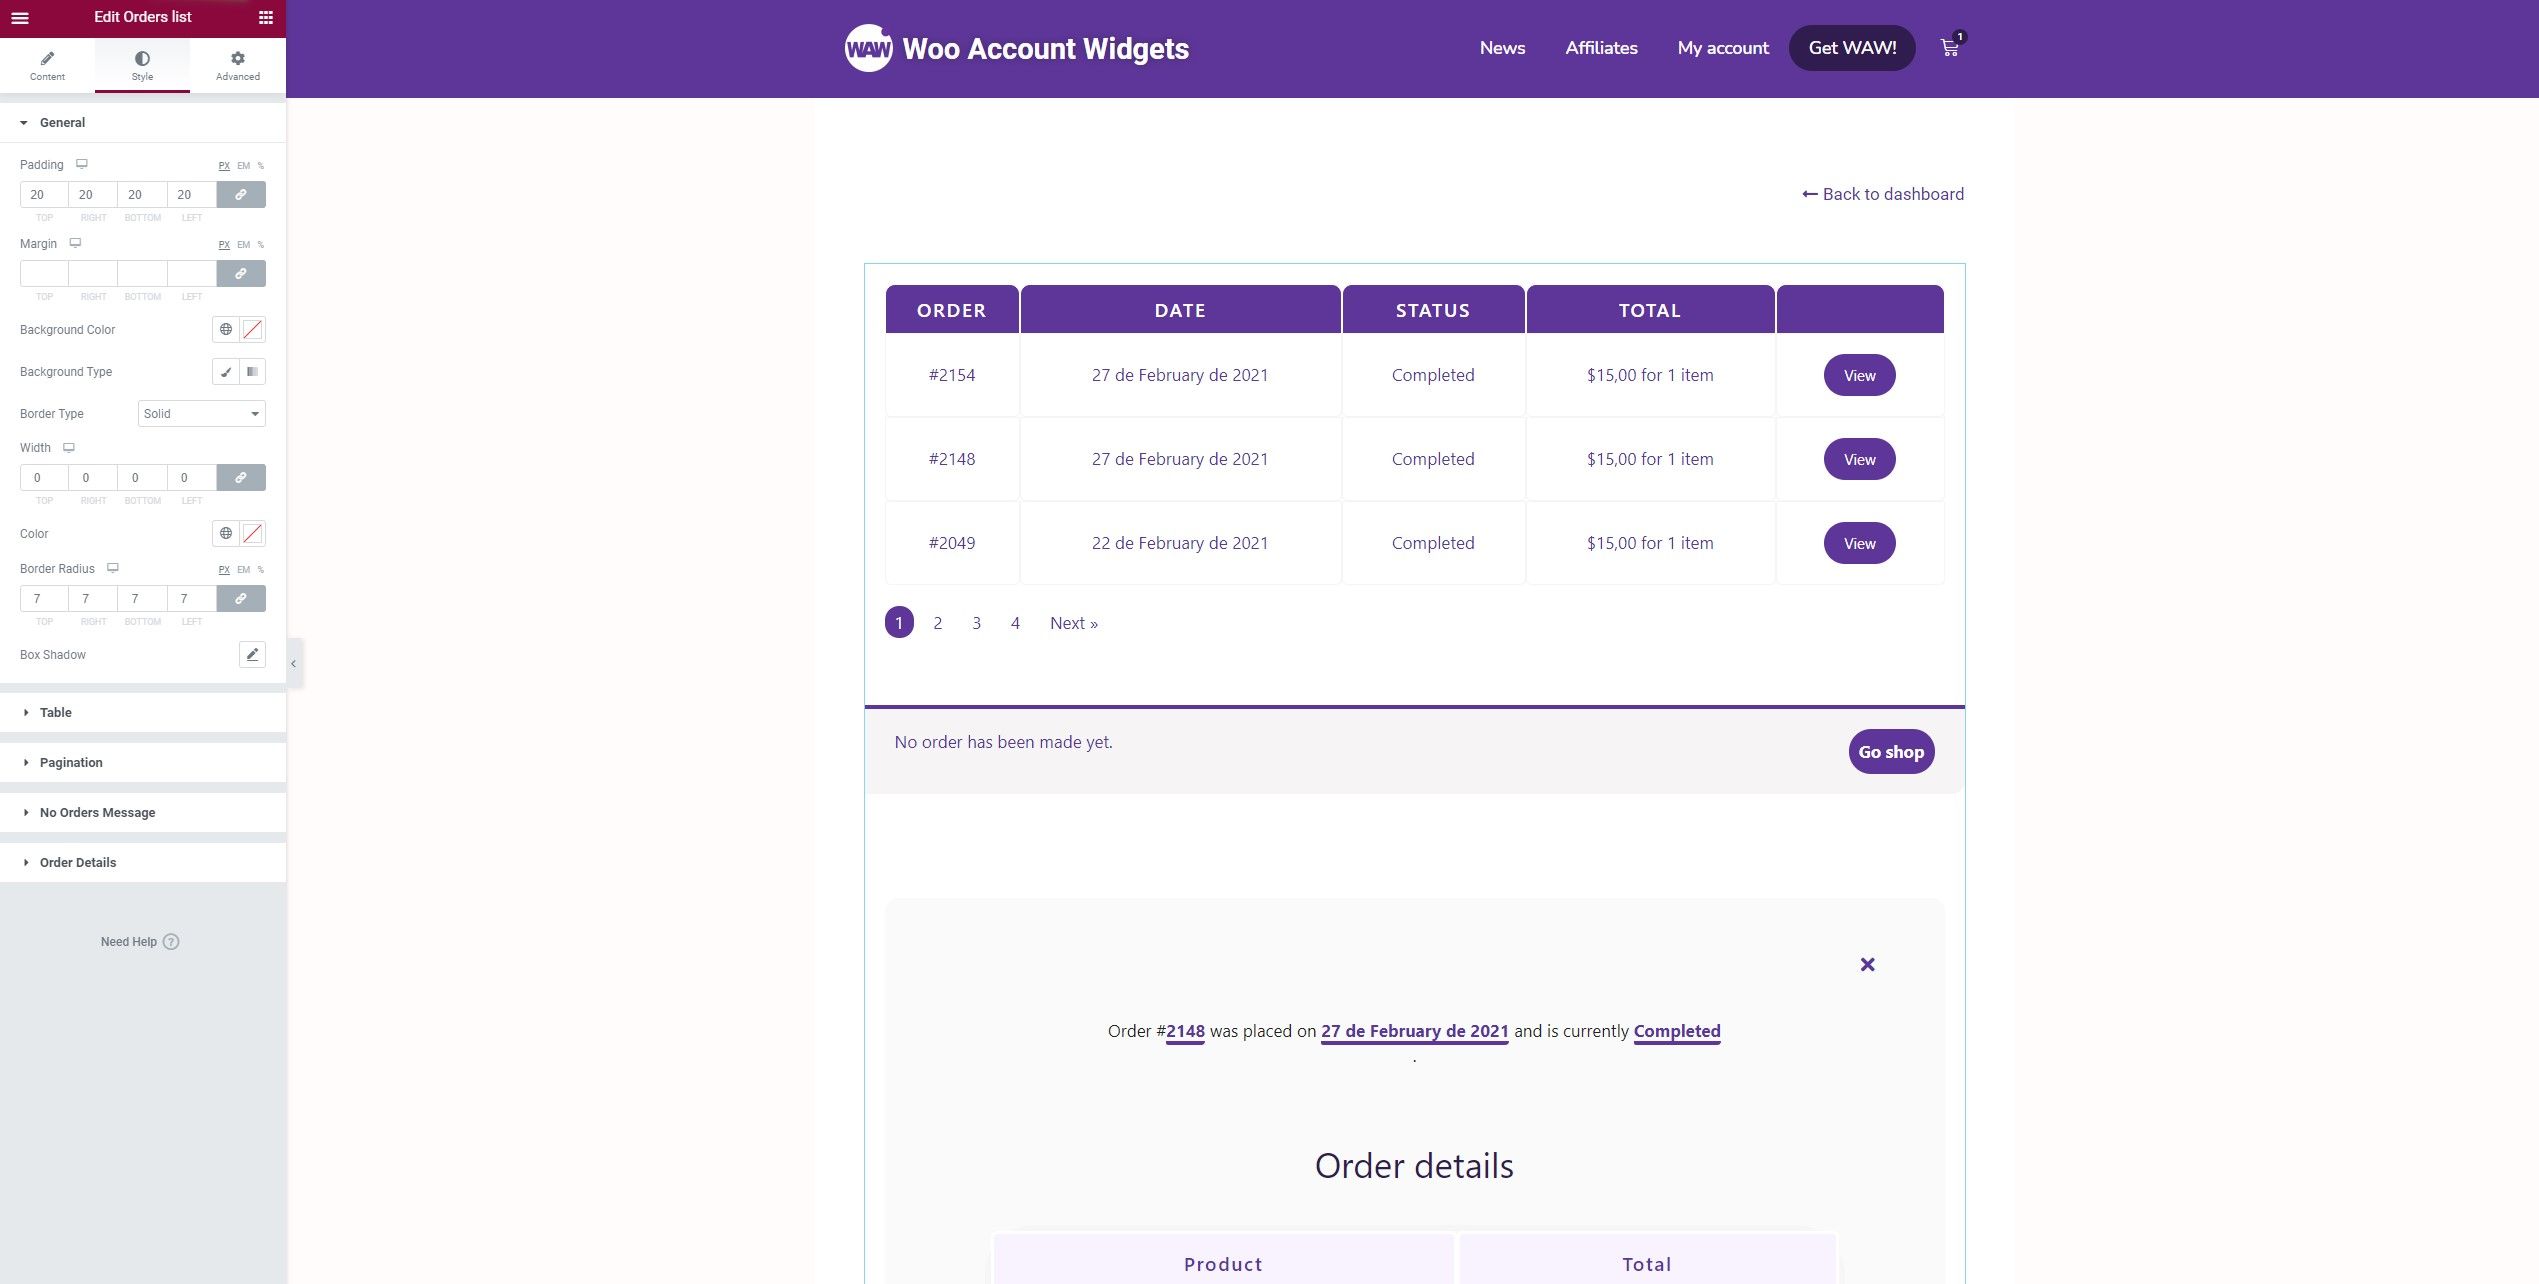
It is also very customizable in terms of styles, it has style options to customize each element individually, as well as:
General Container
Table
Table Header
Table Content
Action Buttons
Pagination
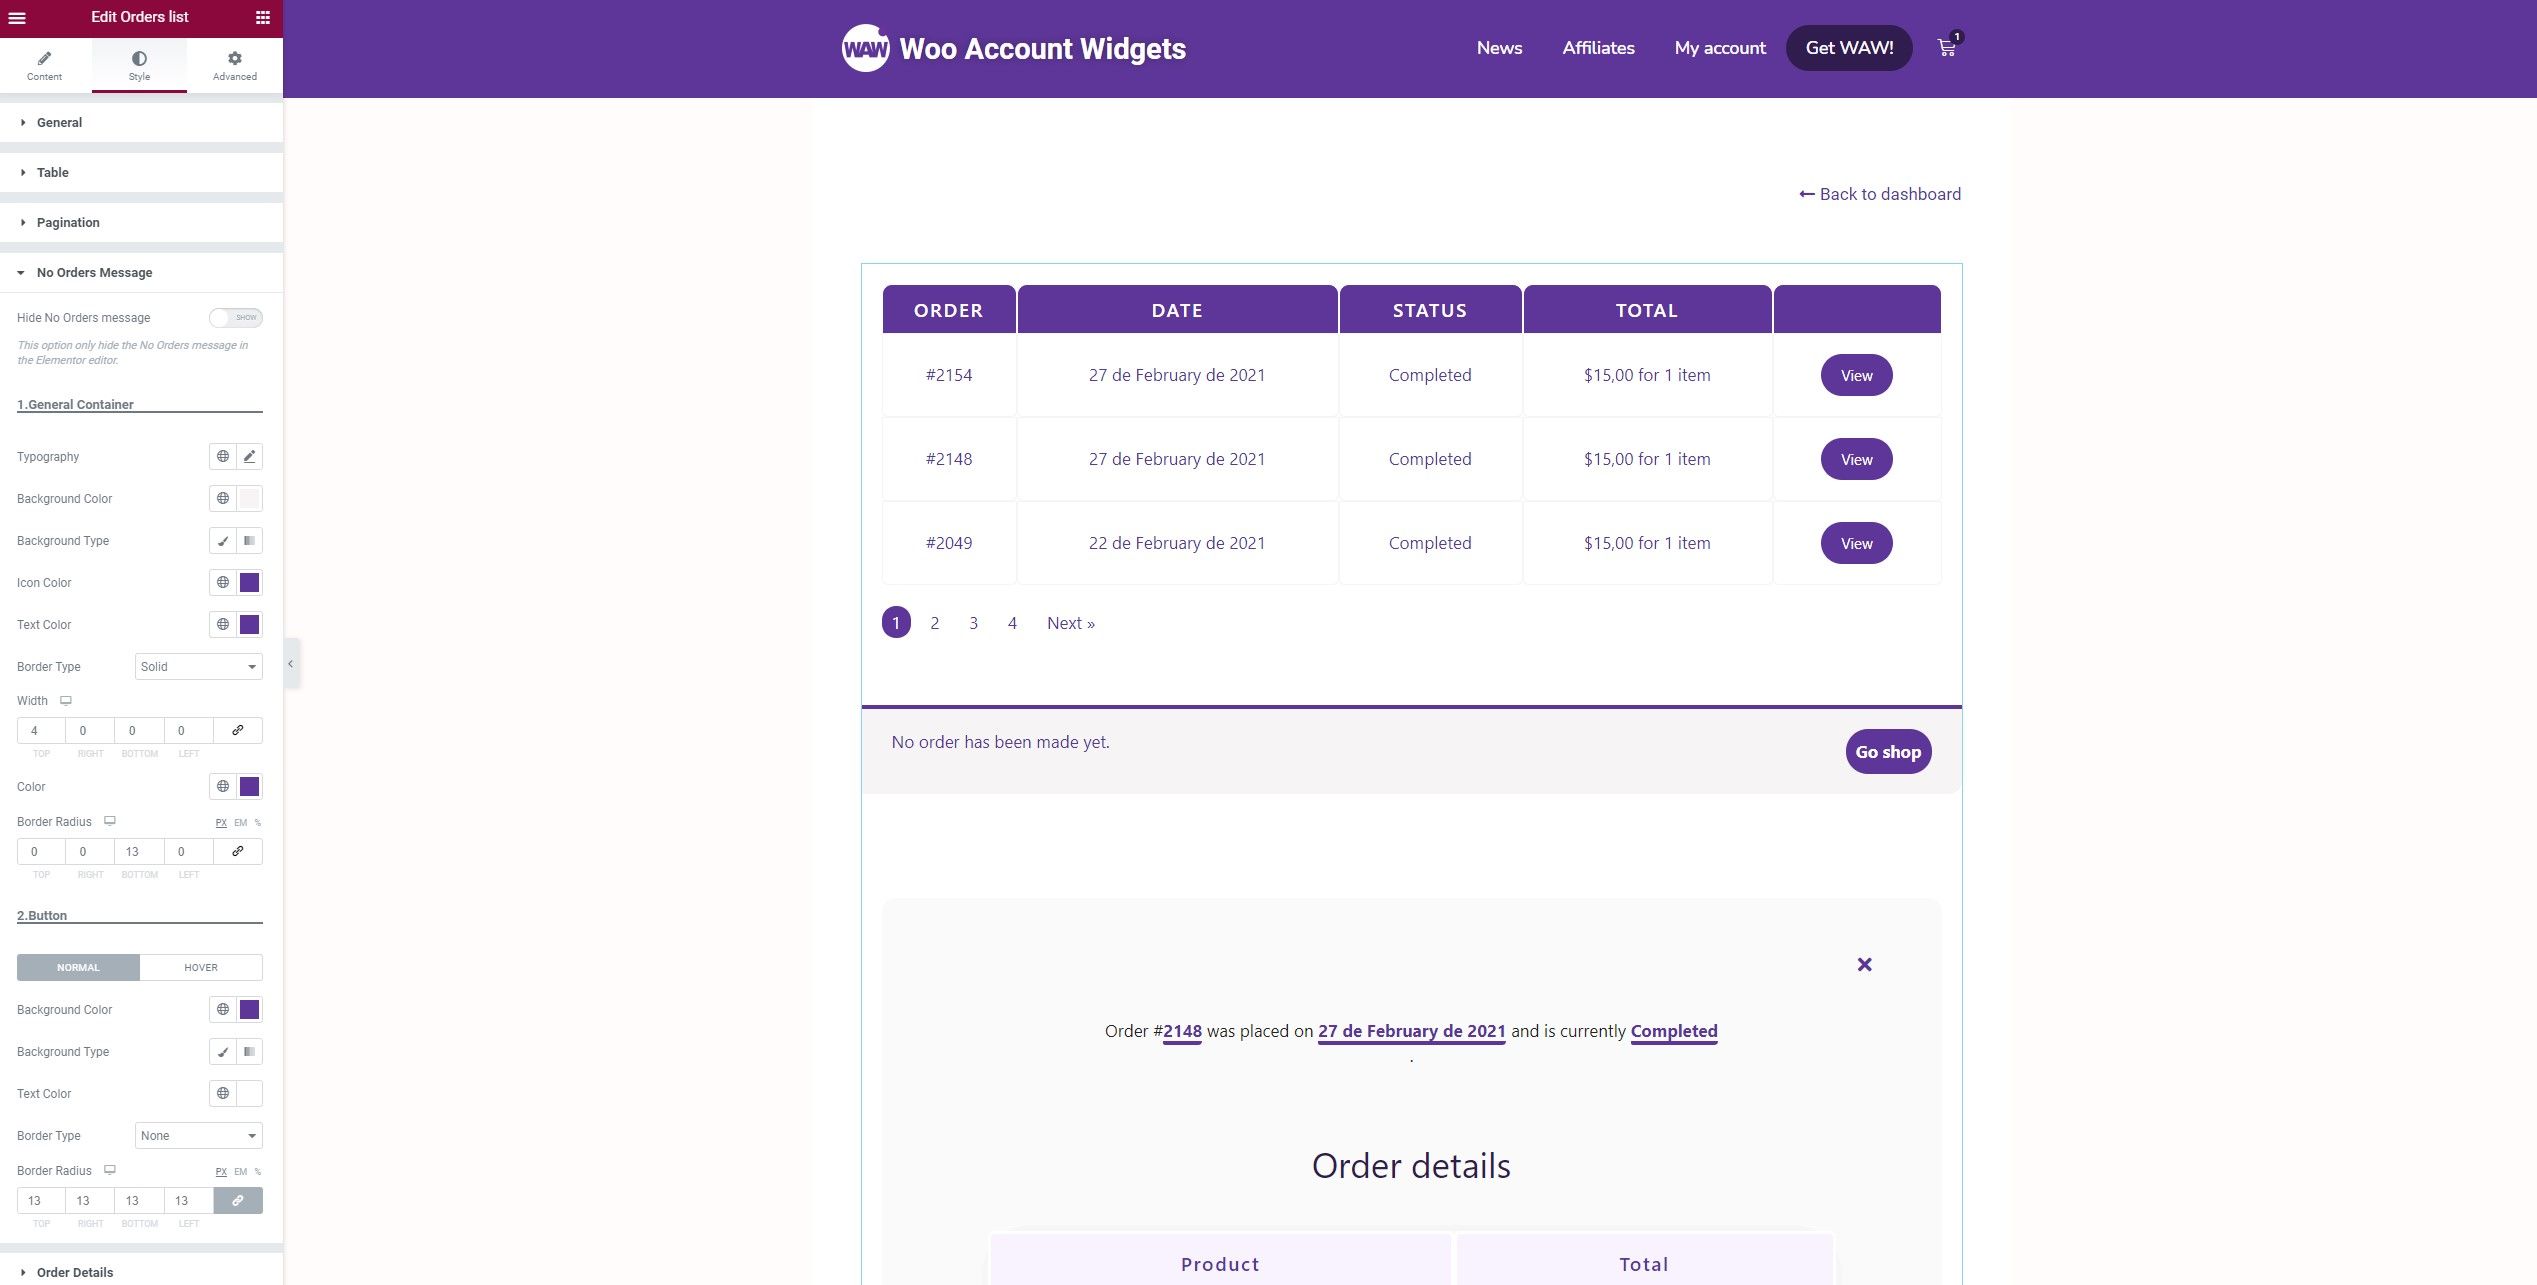
You can also show the message that appears when orders have not yet been placed and thus be able to apply styles to it from the Elementor editor and in real time.
You can configure the container, the icon, the message and the button independently, and you can also hide it so that it is not shown in the editor and keep a less cluttered view when you have finished configuring it.
Also in the same way you can show the details of the order, to be able to apply styles from the Elementor editor and in real time. You can configure everything part by part as well as:
General Container
Sections + Order status + Order details + Addresses
Note
Both the order table and the order details will be displayed even if you have not placed an order, offering test results.
If you have orders placed, it will show the real information with your orders.
Additionally, you can close the order details by clicking on the button in the upper right corner, and you will be redirected to the last point where you were. This button receives the same styles as the link with the product name in the order details table, although you can also apply a custom style with CSS. To do this, you just have to use the class view_order_closebtn
Another style that is applied automatically is for the “Order again” button, which receives the same style as the “View” button to view the order details.
In addition, the pagination of the order table will be hidden in the Frontend automatically when the order details are being displayed.
NoteIt is recommended to create an Elementor template and add the Orders List widget, in addition to using the WAW "Advanced Tabs" extension, adding the Elementor template created as a tab content and activating the "Linkable Tabs" option available in the widget settings, so that advanced actions redirect correctly.
NoteWhen a product is downloadable, a download table will be displayed in the order details. This table will take the same style as the order table.
5/5 - (21 votes)
These cookies can not be eaten, but they are great analyzing traffic to improve your browsing experience. Do you accept them? ACCEPTREJECTRead More
Cookies
Privacy Overview
This website uses cookies to improve your experience while you navigate through the website. Out of these, the cookies that are categorized as necessary are stored on your browser as they are essential for the working of basic functionalities of the website. We also use third-party cookies that help us analyze and understand how you use this website. These cookies will be stored in your browser only with your consent. You also have the option to opt-out of these cookies. But opting out of some of these cookies may affect your browsing experience.
Necessary cookies are absolutely essential for the website to function properly. This category only includes cookies that ensures basic functionalities and security features of the website. These cookies do not store any personal information.
Any cookies that may not be particularly necessary for the website to function and is used specifically to collect user personal data via analytics, ads, other embedded contents are termed as non-necessary cookies. It is mandatory to procure user consent prior to running these cookies on your website.